TMLAPY makes several LED grow lights, and if you landed here searching broadly for a TMLAPY review, the short answer is: which model you're looking at matters a lot. This review covers the three main variants you're likely to encounter: the E1200 (120W, part number TML-E1200-01), the E2000 (200W), and the 320W fanless panel (model TML-320W-NE01). Each targets a different grow space size and use case. I'll walk through what you actually get from each one, starting with the specs, then real coverage and performance, and ending with a straight verdict on whether any of them are worth your money right now.
Tmlapy Grow Light Review: Models, Setup, Performance, Worth It

Marcus Caldwell
22 Apr 2026
Which TMLAPY models this review covers
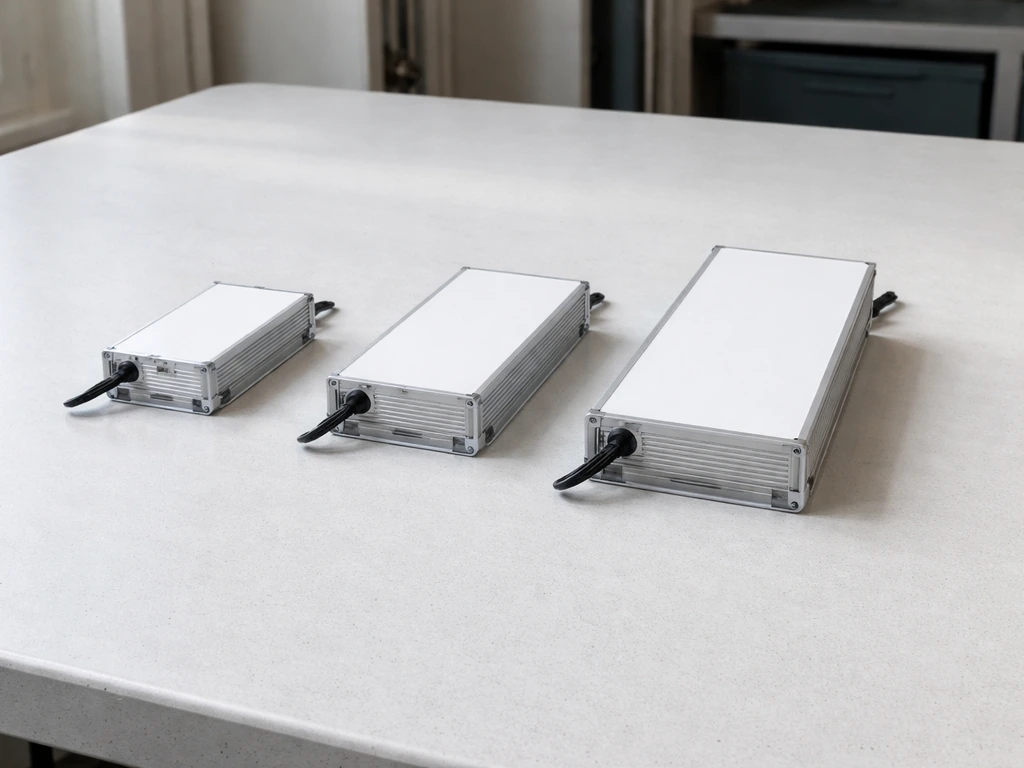
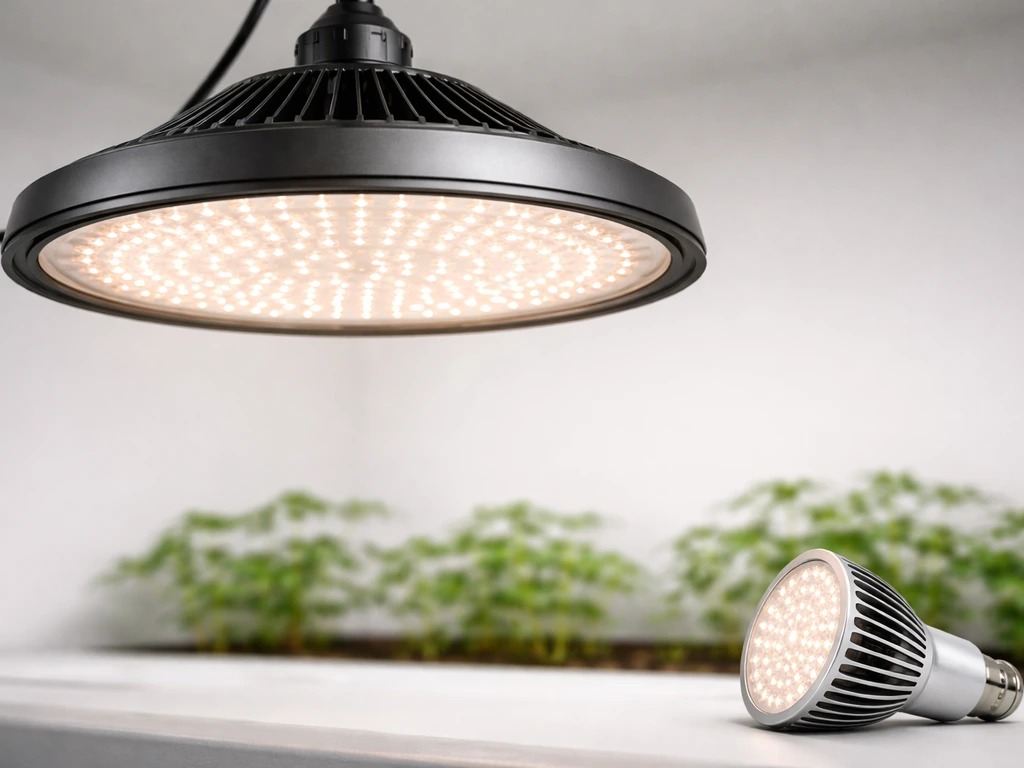
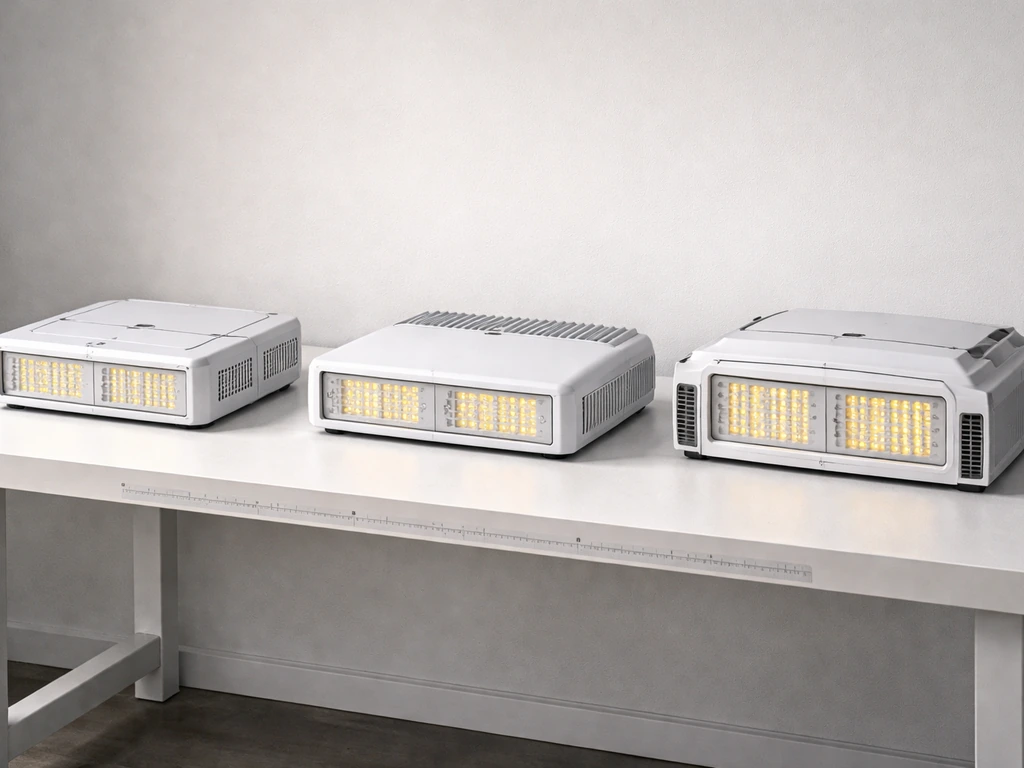
TMLAPY doesn't make it easy to shop by model number, so here's how the lineup breaks down. The E1200 (TML-E1200-01) draws a true 120W from the wall and is sized for a 2x2 or 2x3 ft coverage area. The E2000 steps up to 200W and is aimed at a similar mid-size tent or a larger 2x4 footprint. The 320W panel (TML-320W-NE01) is the biggest of the three, measuring roughly 27 x 16.5 x 2 inches and weighing 9.7 pounds, with a stated coverage of 3x4 ft. All three use a full-spectrum diode mix built around warm and neutral white LEDs supplemented with targeted red, blue, UV, and IR wavelengths. The E1200 and E2000 include active cooling (built-in silent fans), while the 320W uses passive aluminum heat dissipation with no fan at all.
| Model | True Wattage | Coverage Area | Cooling | Weight |
|---|---|---|---|---|
| E1200 (TML-E1200-01) | 120W | 2x2 to 2x3 ft | Built-in silent fan | Not listed |
| E2000 | 200W | ~2x4 ft | Built-in silent fan | Not listed |
| TML-320W-NE01 | 320W | 3x4 ft | Fanless / passive aluminum | 9.7 lbs |
Light spectrum: what you're actually getting
All three TMLAPY models use a white-LED-dominant full-spectrum approach rather than a traditional purple blurple setup. The E1200's diode breakdown is the most documented: 446 pieces of 3000K warm white, 60 pieces of 5000K neutral white, 38 pieces of 660nm red, 12 pieces of 460nm blue, 2 pieces of 405nm UV, and 2 pieces of 730nm IR. The 3000K warm whites cover the orange-red band plants use heavily during flowering, while the 5000K neutrals support the blue-heavy absorption window that drives vegetative growth and compact internodal spacing. The dedicated 660nm reds push photosynthetic efficiency at the chlorophyll-a peak, and the 730nm IR triggers the Emerson enhancement effect, essentially improving photosynthetic yield at the far-red edge.
The E2000 runs a nearly identical spectral philosophy with 3000K and 5000K whites plus UV at 400nm, blue at 460nm, red at 660nm, and IR at 740nm. A third-party manuals PDF for the E2000-style fixture lists a BLOOM mode and a spectrum that includes 3000K, 660nm red, 740nm IR, and 390nm UV VEG mode and a BLOOM mode. What the E2000 adds is a two-mode switch: a VEG mode and a BLOOM mode. VEG mode leans on the cooler whites and blue diodes, keeping growth compact and leafy. BLOOM mode brings in more of the warm whites and reds to shift the spectrum toward flowering and fruiting. It's a useful feature for growers who want a single light to handle a full cycle without swapping hardware.
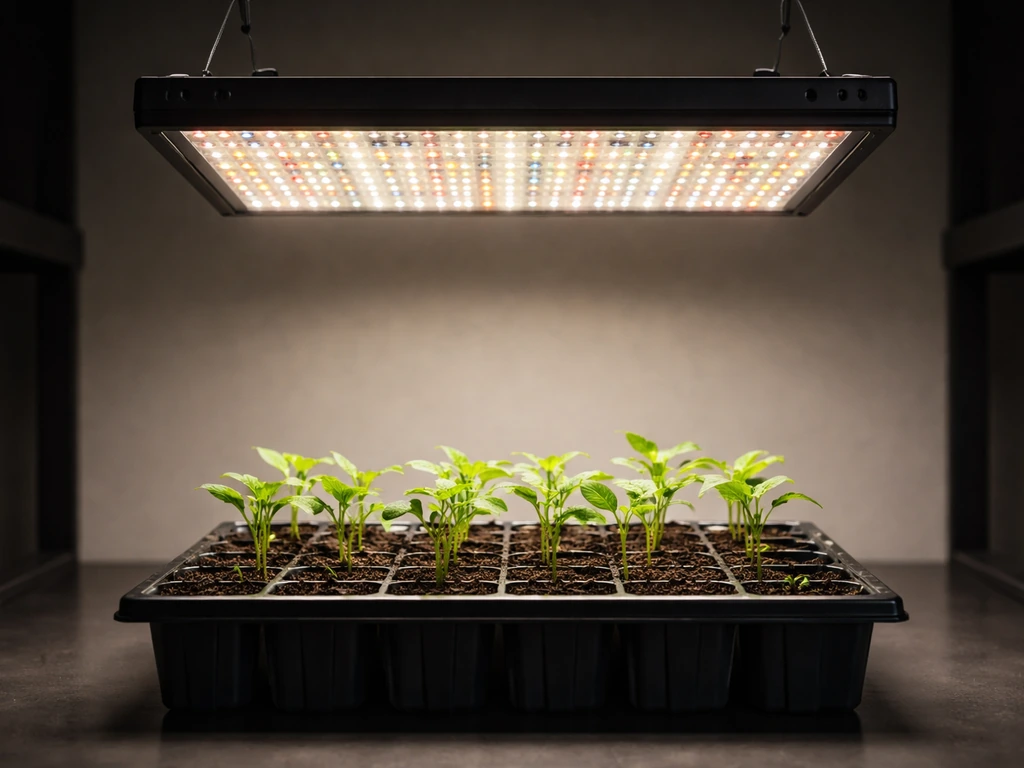
For most common indoor crops (herbs, leafy greens, tomatoes, peppers, cannabis), this spectral mix is genuinely appropriate across all growth stages. Seedlings and clones do well under the cooler, lower-intensity end of the spectrum. Vegetative plants respond well to the balanced white output. Flowering plants benefit from the added 660nm and warm white content. The UV diodes (405nm on the E1200, 400nm on the E2000) are present but minimal, just two diodes on the E1200, so don't expect them to drive significant stress-response secondary metabolite production. They're more of a checkbox feature at this price point.
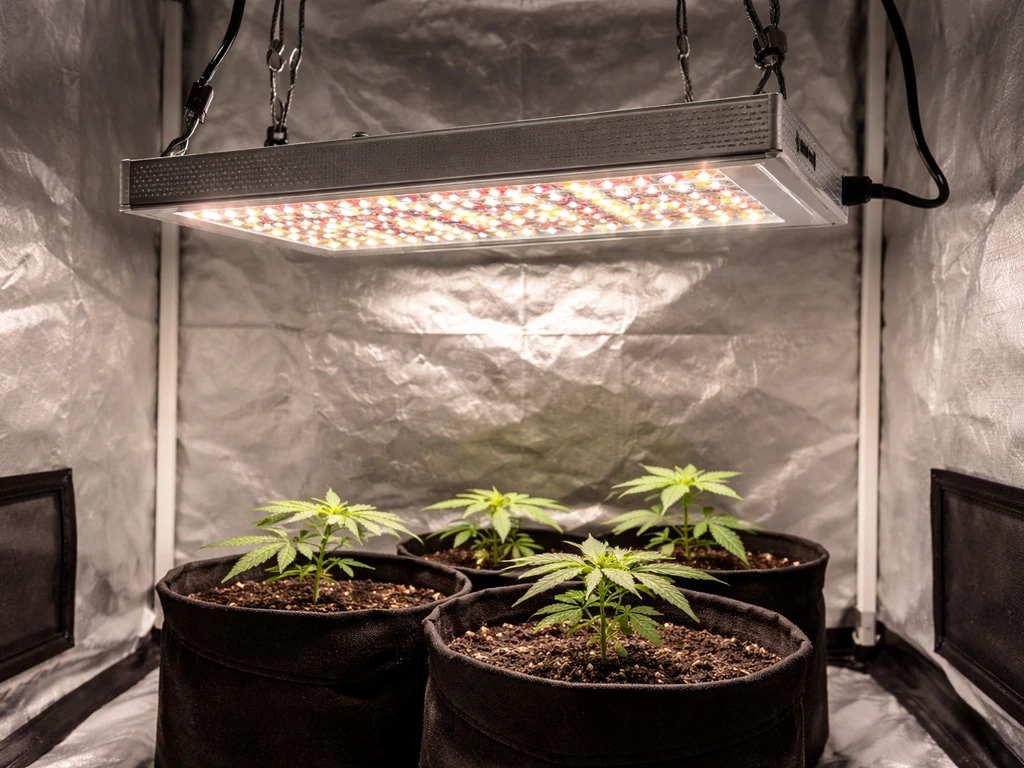
Real-world performance in the grow space
The E1200's claimed PPE of 2.52 umol/J is a number worth examining. LED Grow Lights Depot explains PAR, PPF, PPFD, DLI, and shows how to calculate efficacy in umol/J using PPF and electrical power example calculation for efficacy (umol/J) from PPF and electrical power. For context, mid-tier budget lights from established brands typically land between 2.0 and 2.6 umol/J, so 2.52 umol/J, if accurate, puts the E1200 at the competitive upper end of its price class. I treat manufacturer PPE claims as directional rather than gospel unless confirmed by third-party testing, but even at 2.2 to 2.4 umol/J in practical use, 120W over a 2x3 ft area delivers reasonable intensity for most non-demanding crops.
User experience backs up the coverage claim. At least one grower running the E1200 in a 2x3 tent reported it filled the space adequately, with no major dead zones at the edges when hung at a reasonable height. That tracks with what you'd expect from a 120W panel over 6 square feet. For reference, that's 20W per square foot, which is on the lower end of what heavy-feeding flowering plants want (they typically prefer 30-50W per square foot), but more than sufficient for herbs, lettuce, and early-stage veg.
The 320W fanless model covering a 3x4 ft footprint works out to roughly 26.7W per square foot, a meaningful step up. The large panel form factor (nearly 27 inches wide) also helps with even canopy coverage compared to a single central puck design. For a 3x4 tent growing tomatoes, peppers, or a mixed vegetable setup, it's a more appropriate match than the E1200.
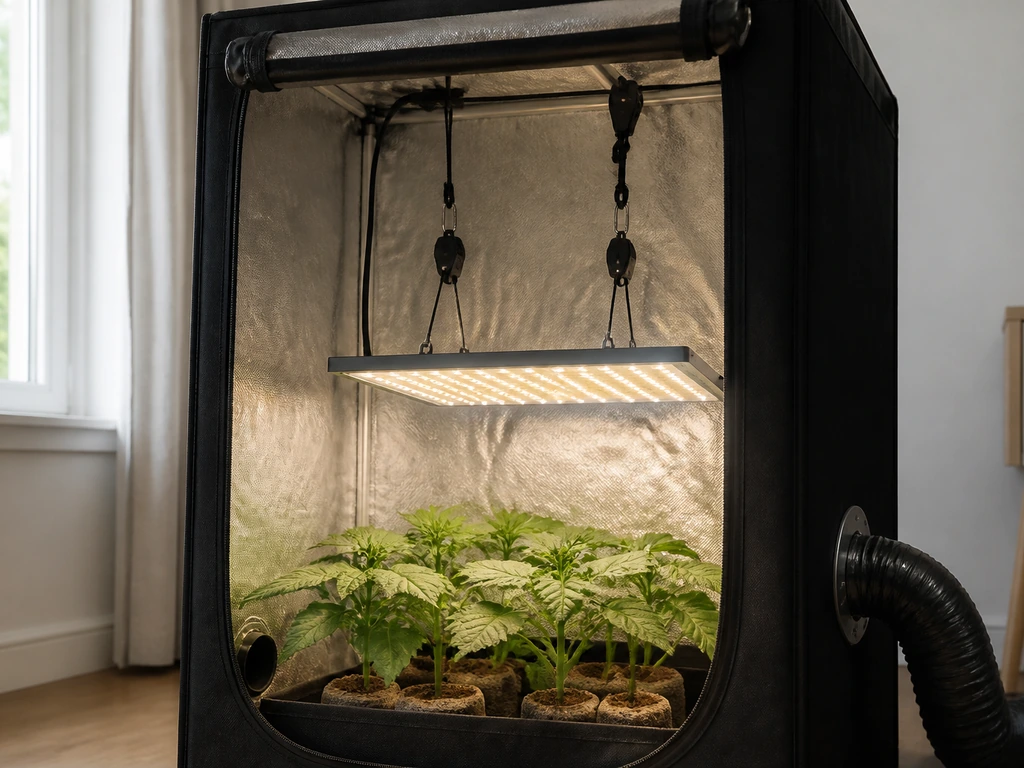
Setup, hanging height, and photoperiod
All three TMLAPY models use standard hanging hardware included in the box, so setup is straightforward. For the E1200 at 120W, start with the light around 24 inches above the canopy for seedlings and young veg, then lower to 18 inches as plants mature into full vegetative growth. For flowering, 16 to 18 inches is a reasonable target. Watch your plants: if you see leaf cupping, bleaching, or upward leaf curling, raise the light by a few inches. If lower leaves are stretching hard toward the light, lower it slightly or increase your photoperiod.
The 320W fanless panel generates more heat at the surface, so start higher (28 to 30 inches) and work down. Passive heatsinks need airflow from your tent's circulation fan to stay effective, so make sure you have at least one oscillating fan running in the grow space.
For photoperiod, the standard starting points apply: 18 hours on / 6 hours off for vegetative growth, and 12/12 to trigger flowering in photoperiod-sensitive plants. Autoflowering varieties do fine at 18/6 or even 20/4 throughout their cycle. The E1200 supports daisy chaining, which means you can link multiple units together and control them from a single power connection, a useful feature if you're expanding a multi-light setup without adding outlet clutter.
- Hang the E1200 at 24 inches for seedlings, lower to 16 to 18 inches for flowering
- Start the 320W panel at 28 to 30 inches and adjust downward based on plant response
- Run 18/6 for veg, 12/12 for flower (photoperiod plants), or 18/6 to 20/4 for autos
- Use the E2000's VEG mode during early growth, switch to BLOOM when flowering starts
- Daisy chain multiple E1200 units to simplify wiring in a larger setup
Build quality, heat, noise, and what to expect daily
The E1200 and E2000 both use active cooling via built-in fans rated as silent. In practice, budget grow light fans are rarely truly silent, but they're typically quiet enough that they don't add meaningfully to tent noise over the ambient hum of duct fans and circulation fans. The bigger concern with active-cooled budget lights is fan longevity. Small brushless fans in grow lights tend to be the first component to fail, usually after 12 to 24 months of continuous use. TMLAPY backs the E1200 with a 3-year warranty and a 30-day money-back guarantee, so if a fan goes out within that window, you have recourse.
The 320W fanless model is the most interesting from a build standpoint. By eliminating fans entirely, TMLAPY removes the most common failure point in LED grow lights. Aluminum heat dissipation is a proven approach used by higher-end lights, and at 320W it's a reasonable design choice if the heatsink surface area is adequate. The 9.7-pound weight suggests a substantial aluminum body, which is a good sign. The tradeoff is that passive cooling only works if your tent has decent airflow, so this model punishes poor ventilation setups more than the fan-cooled units do.
The E1200 supports 100 to 277V AC input, which means it works on standard US household current, international 220-240V outlets, and commercial wiring without an adapter. That's a practical feature often missing from cheaper lights, and it adds some durability to the driver design. All three models carry a 3-year warranty, which is standard for this segment and competitive with brands like Lonwon and Dorm Grow.
Value compared to other grow lights
TMLAPY sits in the budget-to-mid-budget category, competing directly with lights from brands like Lonwon, Delponting, and similar Amazon/Newegg-tier manufacturers. If you're specifically looking for a Lonwon grow light review, compare its efficiency and coverage claims against what this TMLAPY lineup delivers. If you want to compare options beyond TMLAPY, it helps to also look at Delponting grow lights. The E1200's 2.52 umol/J PPE claim, if it holds up, is genuinely competitive at this price. For comparison, a well-regarded mid-tier light like the GN Telos 0010 targets a higher efficiency ceiling and typically carries a higher price to match. The TMLAPY lineup makes the most sense for growers who want full-spectrum diode variety (including UV and IR) and a multi-mode option (E2000) without paying for a premium driver and brand reputation.
The 320W fanless model at 9.7 pounds and 3x4 ft coverage occupies a slightly different competitive space. Fanless panel lights at this wattage from established brands cost considerably more. If the heatsink performs as intended, you're getting a legitimately quiet, failure-point-reduced grow light at a budget price. The 3.9 out of 5 star average across 90 ratings is lukewarm rather than strong, meaning buyers are generally satisfied but not enthusiastic, which tracks with what you'd expect from a budget panel that delivers adequate but not exceptional performance.
Where TMLAPY doesn't compete well is in independently verified PPFD maps, third-party efficiency testing, and long-term reliability track records. If you're running a serious commercial micro-grow or need performance data you can verify before purchase, a more established brand with published test data is the safer buy. For a first grow tent, a hobby herb garden, or a low-stakes trial run, the TMLAPY lineup offers reasonable value with acceptable risk.
Final verdict: who should buy it and who should skip it
The E1200 is the best entry point in the TMLAPY lineup. At 120W with a well-rounded diode mix, daisy chain support, wide voltage input, and a 3-year warranty, it's a capable light for a 2x2 or 2x3 grow covering herbs, leafy greens, or vegetative-stage plants. The E2000's VEG/BLOOM switching adds flexibility for full-cycle grows. The 320W fanless model is interesting for growers who want a quiet setup and a larger footprint, but it demands good tent ventilation to work properly.
Skip TMLAPY if you need verified PPFD data before buying, if you're running a high-value crop where light performance directly affects yield economics, or if you want a brand with a longer public track record. In those cases, spending more on a light with published third-party test results is the smarter call.
Quick buying checklist
- Measure your grow space before ordering: E1200 for 2x2 to 2x3, 320W panel for 3x4
- Check your tent's ventilation setup before choosing the fanless 320W model
- If you want one light for seed to harvest, the E2000's VEG/BLOOM modes are worth the step up
- Verify the 3-year warranty registration process at purchase so you have coverage documented
- Compare the E1200's 2.52 umol/J PPE claim against alternatives like the Lonwon or Delponting equivalents at the same wattage
- If your budget allows, check how the TMLAPY 320W stacks up against the GN Telos 0010 for a larger footprint at a higher efficiency tier
- Plan your hang height before your first run: 24 inches for seedlings, work down to 16 to 18 inches for flowering
FAQ
Which Tmlapy model should I choose if my tent is 2x2, 2x3, or 3x4?
For a 2x2, the E1200 is the more natural fit (it is sized for about a 2x2 to 2x3 ft area). For a 2x4, the E2000 is usually the better single-light starting point since it is aimed at roughly a larger mid-footprint, but you may still get better uniformity using two smaller lights if your crop is light-sensitive at the canopy edges. For a 3x4, pick the 320W fanless panel, because its stated coverage and power density match that footprint better than the E1200.
Do I need extra cooling for the fan-cooled E1200 and E2000, or is the built-in airflow enough?
Built-in fans help manage the light’s internal temperature, but they do not replace grow-tent circulation. You still want at least one oscillating fan to keep leaf surface conditions stable and to reduce hot spots under the diode array. If you run the tent with minimal circulation, you can still see edge or top-canopy stress even if the driver is staying cool.
Is the 320W fanless light safe to use in a poorly ventilated grow tent?
It is the riskiest of the three in a low-airflow setup. Passive aluminum cooling relies on airflow across the heatsink and around the canopy, so if your tent’s only airflow is an exhaust fan that cycles slowly, the surface can run hotter than expected. If you cannot keep consistent circulation, consider the E1200 or E2000 instead of the 320W.
Does daisy chaining the E1200 mean I can plug multiple lights into any power strip configuration?
Not automatically. Daisy chaining reduces outlet clutter, but you still need to ensure the total load stays within the rating of the chain setup and your power strip, and that wiring is appropriate for the current draw at your local voltage. If you are in a high-humidity environment, use a properly rated grow power strip or timer setup rather than a generic strip that may not be designed for continuous loads.
How do I avoid over-lighting if the coverage claim seems “good enough” but my plants look stressed?
Use plant response rather than the footprint claim. If you see leaf bleaching, upward curling, or cupping, raise the light a few inches and consider reducing photoperiod temporarily (for example, drop from 18/6 to closer to 16/8 for sensitive veg). If seedlings are stretching hard, lower the light slightly or increase photoperiod within safe limits for your stage.
What if my grow is high-value (like flowers or premium clones), but I cannot find third-party PPFD maps for these lights?
If yield economics matter and you need independently verified PPFD uniformity, treat Tmlapy’s claims as directional and consider a light with published test data. A practical mitigation is to do a short, controlled side-by-side with your current light, track growth rate and canopy uniformity, and only scale up once you confirm your specific crop responds predictably.
Do the UV and IR diodes actually do anything, or are they mostly marketing on this lineup?
The UV contribution here is limited by diode count, so it is unlikely to replicate the effect of stronger UV implementations used for stress and secondary metabolite strategies. Treat UV/IR as a supplemental feature rather than a primary tool. If your goal is consistent UV-triggered responses, you may need a dedicated UV approach or a light system with more substantial UV output.
How should I set photoperiod and switching for the E2000 VEG/BLOOM modes?
Use VEG mode for earlier vegetative growth when you want a cooler balance and tighter internodes, then switch to BLOOM when you begin flowering. If you want a more gradual transition, you can start FLOOM a few days before the formal flip and monitor canopy stretch, but keep in mind that mode switching changes spectrum more than it changes intensity, so hanging height and intensity still matter.
Why does my canopy look uneven at the edges even when the tent coverage matches the light’s stated area?
Even if coverage “fits,” uniformity depends heavily on hanging height, reflector or lens effects (if any), and whether your canopy is level. A common fix is to keep a consistent canopy height early, use plant training to reduce height variance, and verify the light position after plants begin to grow. If your edges are consistently underpowered, consider adding a second unit or raising the light slightly, then compensating with photoperiod or by adjusting intensity.
What is the most common reason these lights fail early, and how can I reduce the chance of fan issues on the E1200/E2000?
Fan longevity is the main concern for active-cooled models, since small budget fans can be the first component to fail under continuous use. Reduce dust buildup by using a clean grow space, avoid drawing heavy particulate through the light’s intake, and keep circulation steady so the fans do not have to work harder than necessary. Also note that the included warranty and money-back window are your safety net if a fan does fail early.
Do these lights work on 220 to 240V, or will I need an adapter?
They support a wide input range (100 to 277V AC), so you generally should not need an adapter when moving between US and many international outlets. Still, confirm your country’s plug type and ensure your wiring and timer ratings are appropriate for the continuous load you will be running.