The VS1000 is a 100W LED grow light from VIVOSUN built around Samsung LM301D diodes, designed for a 2x2 ft flowering footprint or a slightly larger 3x3 ft vegetative canopy. It delivers real, usable light for seedlings, clones, and full veg cycles, and can carry a small plant through flower if you manage your expectations. It is not a replacement for a 200W or 240W board in a 3x3 tent, but for a compact single-plant setup or a dedicated propagation space, it earns its price. If you want a direct, full review of the VS2000 as well, see our vs2000 led grow light review.
VS1000 LED Grow Light Review: Real Results, Fit, and Value

Marcus Caldwell
1 May 2026
What the VS1000 actually is
VIVOSUN sells two closely related versions: the VS1000 and the VS1000E. Both run at 100W input power, accept 100-277V input (so they work globally), and use Samsung LM301D diodes as the primary light source. The VS1000E specifically carries 238 diodes and is rated at roughly 2. 5 µmol/J efficacy, which puts it in competitive territory for its price class.
For the LM301D diode used in this light, Samsung lists the official performance characteristics on its LM301D product page 2. 5 µmol/J efficacy.
The spectrum includes a full white broad band plus dedicated 660nm red and 730nm far-red channels, which matter more in flower than most budget lights acknowledge. Power factor is listed above 0. 9, meaning the driver is reasonably efficient and not drawing meaningfully more from the wall than the 100W nameplate suggests.
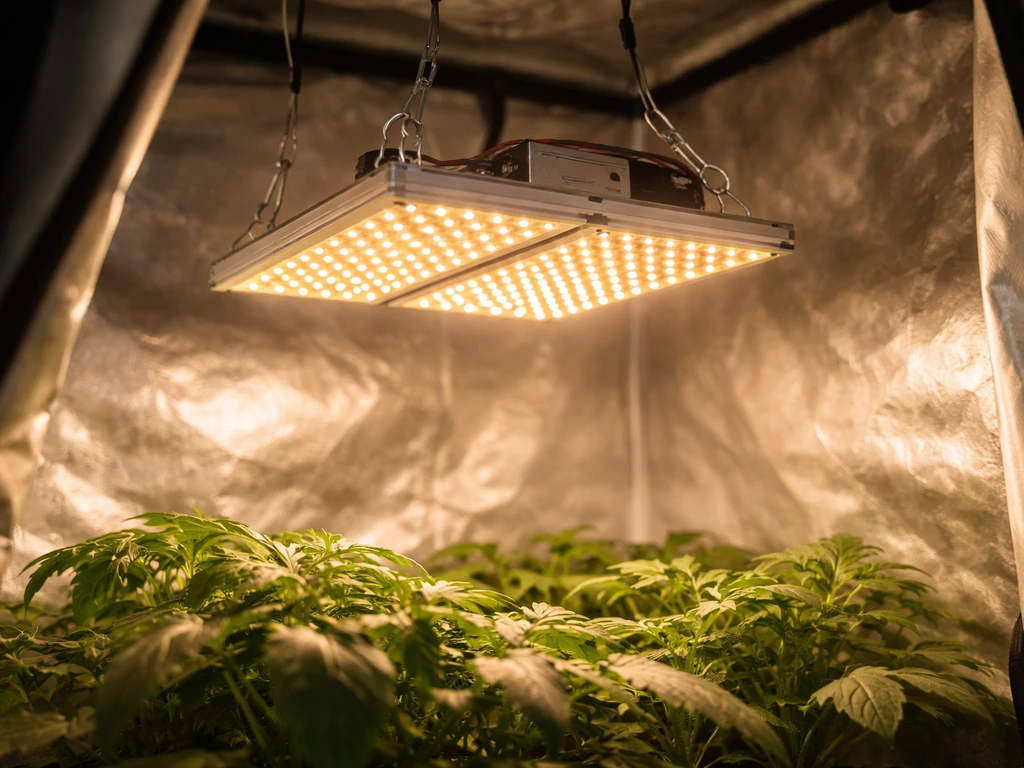
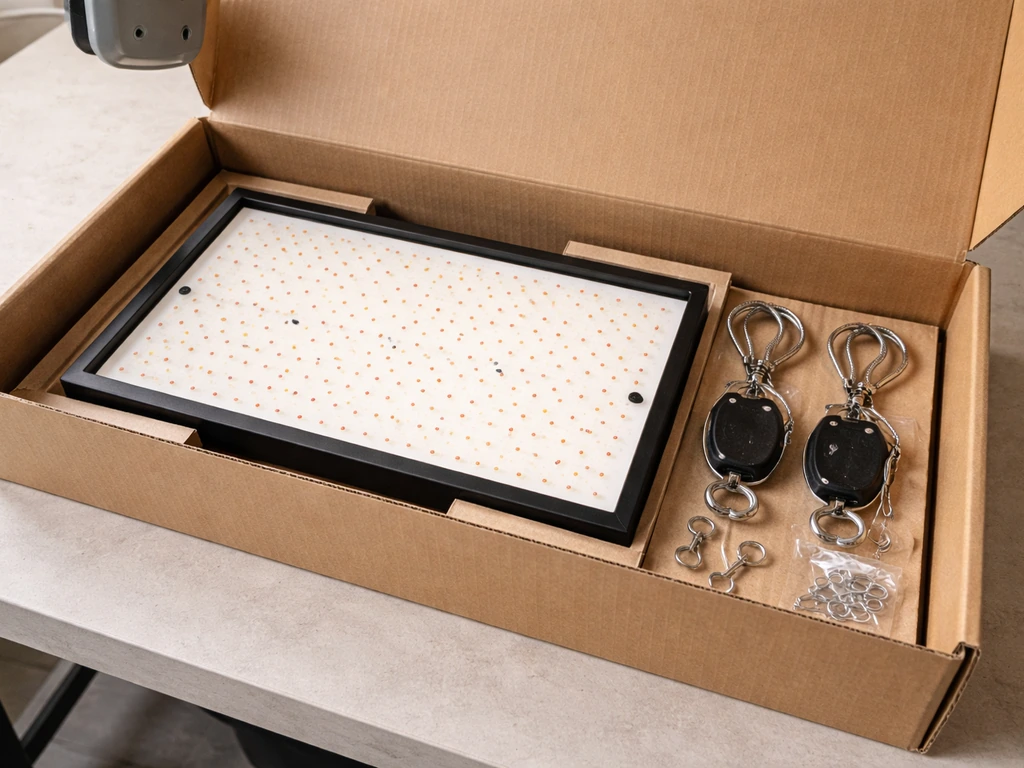
The light is a flat quantum board form factor, not a blurple bar or COB array. It ships with a hanging kit, a power cord, and a basic manual. There is no separate veg/bloom switch on the base VS1000, it runs full spectrum at all times. Some listings for the VS1000E do include a dimmer knob, which is worth paying attention to when you are comparing SKUs because dimming flexibility changes how useful the light is across the full grow cycle.
Setup, mounting height, and how to lay out your space
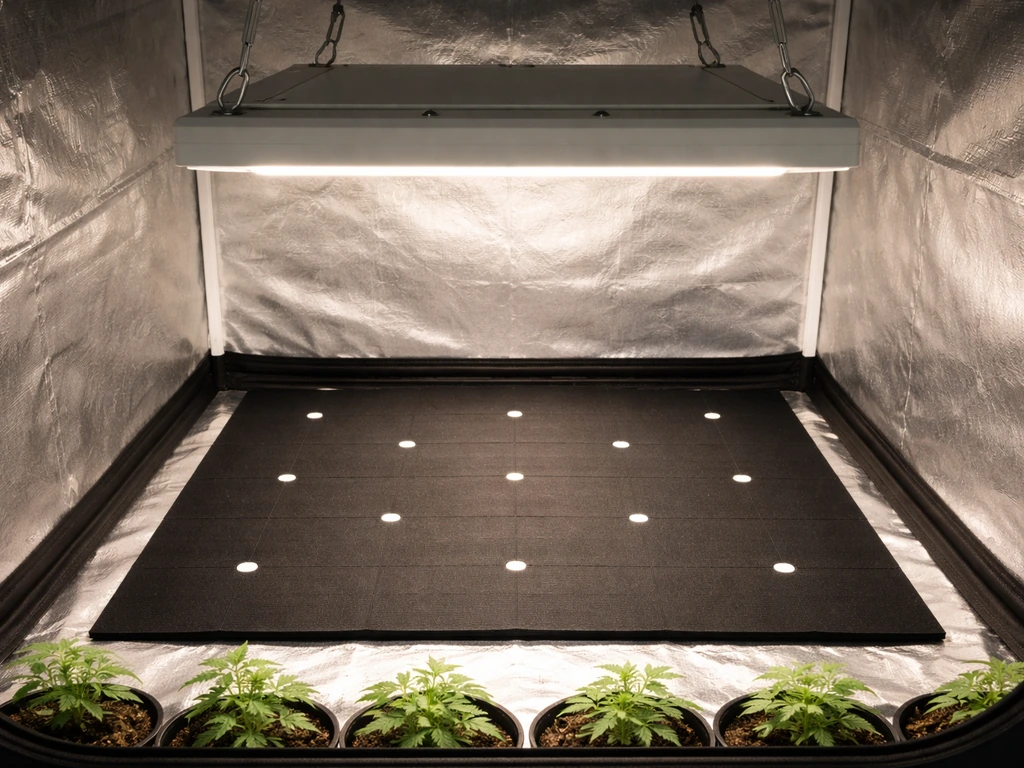
Installation is straightforward. The light hangs from a pair of included ratchet straps, and the whole process from box to powered-on takes under ten minutes. The flat board design means you want it centered directly above your canopy rather than angled, because the light distribution falls off sharply past the edges of the panel.
Mounting height makes a significant difference with this light. Here are the general guidelines to start with, then dial in based on how your plants respond:
| Growth Stage | Recommended Height Above Canopy | Coverage Area |
|---|---|---|
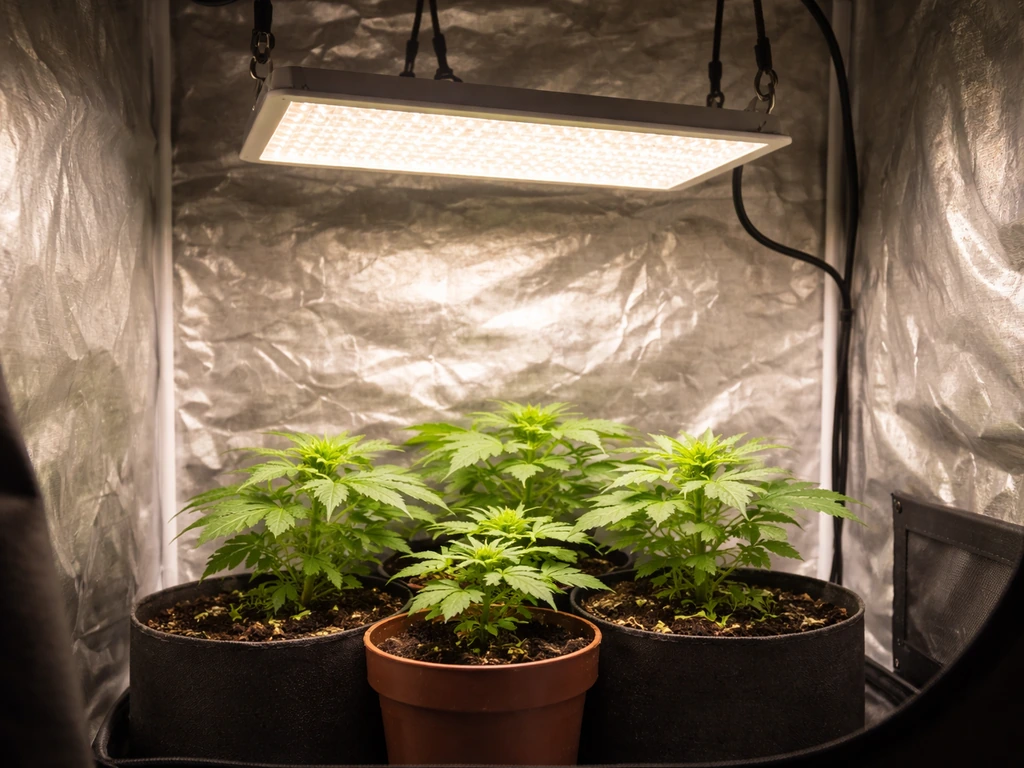
| Seedlings / Clones | 24–30 inches | Up to 3x3 ft |
| Vegetative | 18–24 inches | 2.5x2.5 to 3x3 ft |
| Flowering | 12–18 inches | 2x2 ft (optimal) |
For a standard 2x2 tent, this light fills the space well during veg and does a reasonable job through flower at the lower hanging heights. If you are working in a 3x3 tent and want to flower in it, the VS1000 alone will leave the corners underlit. Either supplement with a side light, or plan on using it strictly for veg in that size space and upgrading for flower. The VS2000 is the natural step up if you need to cover a 3x3 through full cycle.
Spectrum and when to use which mode
The VS1000 runs a full-spectrum white light built on Samsung LM301D diodes, which produce a broad output peaking in the 4000-5000K range, with added energy at 660nm deep red and 730nm far-red. That combination is meaningful. The 660nm channel boosts photosynthesis efficiency during flower initiation, and the 730nm far-red plays a role in the Emerson enhancement effect, nudging plants toward earlier and more uniform flowering when the light cycle flips to 12/12.
Because there is no separate veg/bloom switch on the standard VS1000, you are running the full spectrum from day one. That is fine, and arguably better than the old red/blue toggle approach for most grows. Seedlings and clones do well under this spectrum at reduced intensity (raise the light or, on the VS1000E, dial the dimmer back to 50-60%). During veg you can run full power.
During flower, keeping it at full output at the correct hanging height gives you the best PPFD delivery the light can manage. VIVOSUN’s VS1000 manual specifies a full-spectrum output that includes 380, 780 nm plus rich 660 nm and 730 nm channels, along with stage timing and a 12-hours-on, 100% reference for the flowering stage 12/12 flowering timing at full output.
What the VS1000 does not have is a UV channel or a dedicated deep blue boost. That is a trade-off you accept at this price point. UV can increase terpene and resin expression in the final weeks of flower, and if that matters to you, lights like the Spider Farmer SF1000 or higher-end boards with UV/IR supplementation are worth comparing. If you want an alternative to the VS1000 lineup, this spydr led grow light review style comparison can help you choose a better fit for your budget and coverage needs Spider Farmer SF1000. For mainstream herb and vegetable growing, the VS1000 spectrum is more than adequate.
What to actually expect from performance
At 2.5 µmol/J and 100W, you are looking at roughly 250 µmol/s total output. Hung at 18 inches over a 2x2 ft canopy, the center PPFD should land in the 600-800 µmol/m²/s range, which is solidly in the photosynthesis sweet spot for most plants. Edge readings will drop to 300-400 µmol/m²/s, which is why staying within a true 2x2 during flower matters.
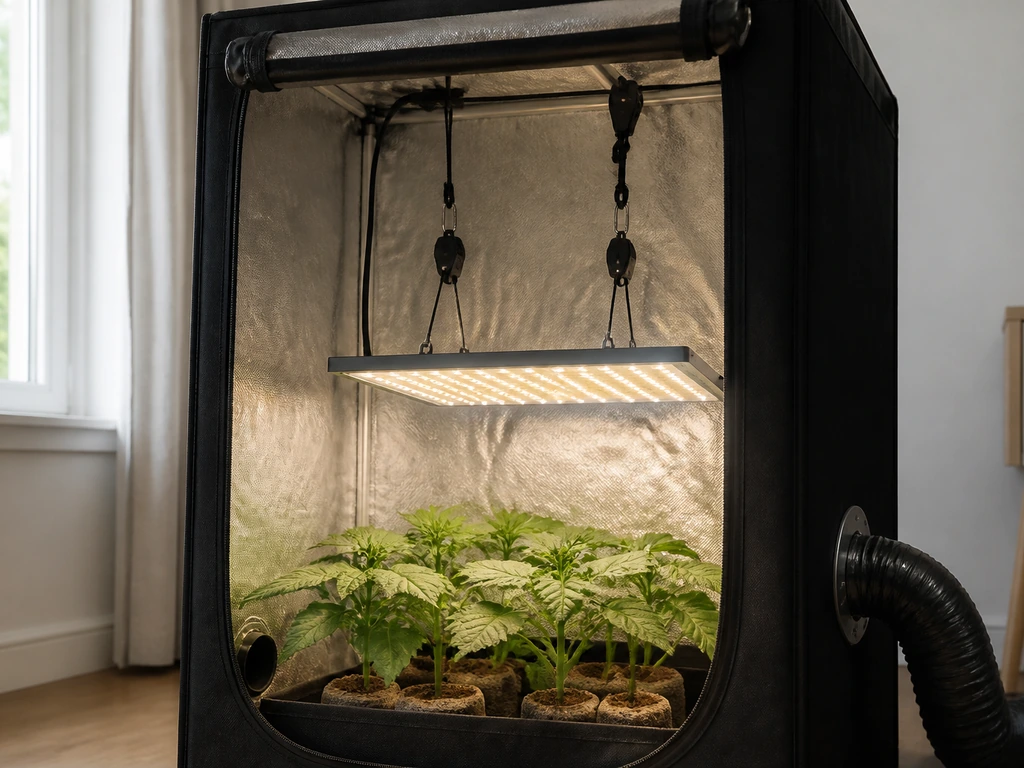
For seedlings and clones, the light is genuinely excellent. The broad white spectrum produces compact, healthy growth without the etiolation (stretch) you get from narrow-band blurple lights. Tomatoes, peppers, herbs, and cannabis seedlings all respond well. In vegetative growth, plants develop well with good internode spacing and strong leaf color, provided you are feeding correctly and not blaming the light for nutrient issues.
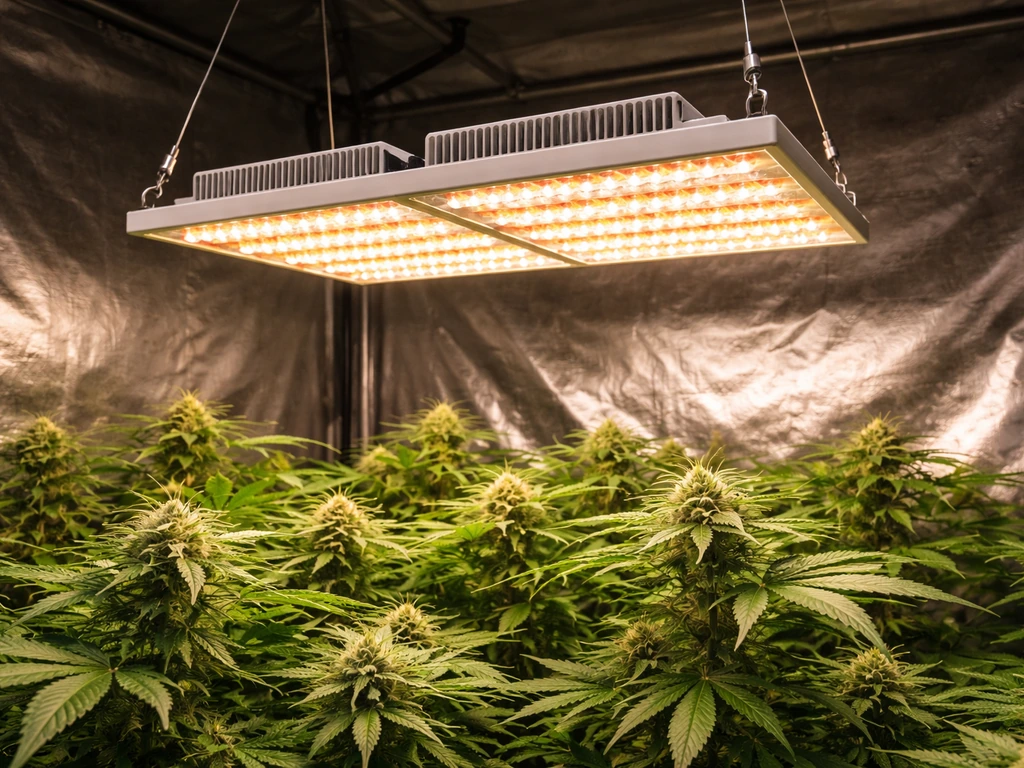
Flower performance is where you need honest expectations. A single cannabis plant in a 2x2 scrogged or trained to stay compact can finish well under this light. Dense or tall plants that need PPFD above 800 µmol/m²/s across the whole canopy will plateau. You will see buds at the top of the canopy develop nicely, but lower sites will underperform if the canopy is not kept flat. Lollipopping and a flat canopy are not optional with a 100W board, they are required.
Build quality, heat, noise, and safety
The VS1000 uses a passive heatsink design with no internal fan. That means it runs completely silent, which is a real practical benefit in a home or apartment setting. The aluminum heatsink plate dissipates heat well enough that the board surface stays warm but not hot to the touch during normal operation. In a properly ventilated tent with a decent inline fan, the VS1000 adds minimal heat load to your environment, far less than an HPS or CMH of comparable output.
Build quality is reasonable for the price. The housing is plastic with an aluminum core, the connectors feel solid, and the diodes are well-seated. It is not the same physical quality as a Gavita or a Fluence board, but it is not pretending to be either. The driver is external on most configurations, which keeps heat away from the diodes and extends the lifespan of both components. VIVOSUN rates the light for around 50,000 hours, which is a standard industry claim for LM301-series diodes operated at conservative current densities.
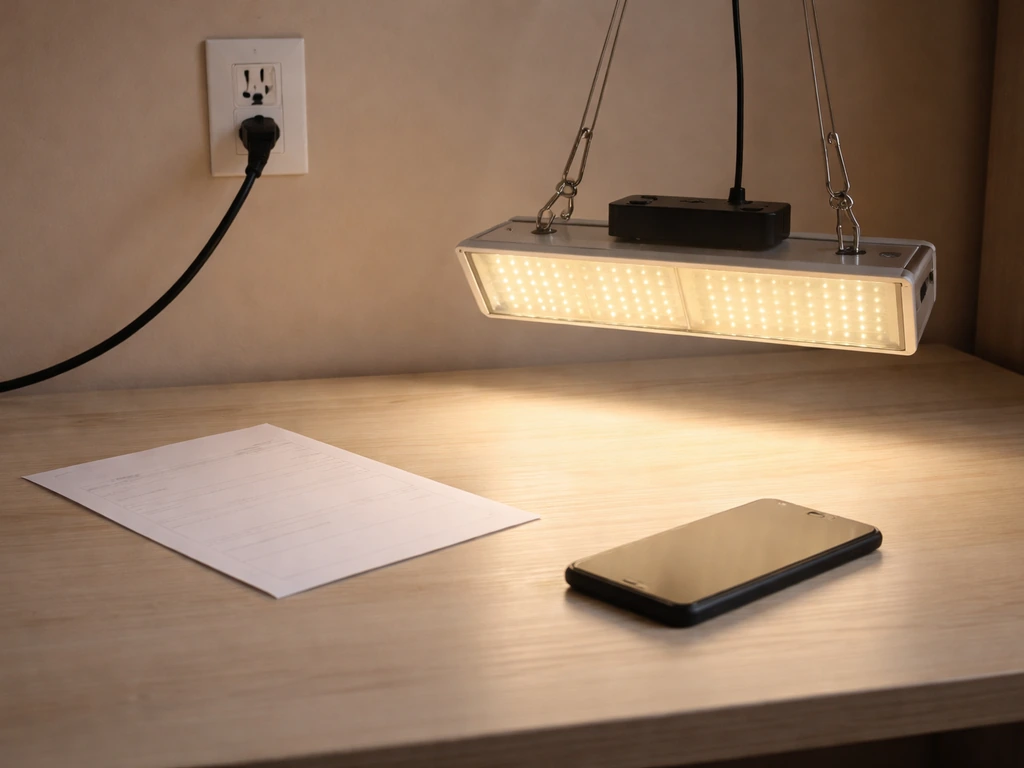
On safety: the VS1000 carries ETL or similar certification on most versions sold in North America, and the wide input voltage range (100-277V) with a power factor above 0.9 suggests a quality driver rather than a cheap unregulated supply. Always verify the certification mark on the unit you receive matches the listing. Counterfeits do exist in this price range on third-party marketplaces.
Running costs and whether the value math works
At 100W true draw, the VS1000 is inexpensive to run. Using a US average electricity cost of around $0.16 per kWh as of mid-2026, running the light for 18 hours a day during veg costs about $0.29 per day, or roughly $8.70 per month. Dropping to a 12-hour flower cycle brings that to about $0.19 per day, or $5.80 per month. Over a full 4-month grow (8 weeks veg, 8 weeks flower), you are spending around $56 on electricity for the light alone. That is genuinely low operating cost.
The VS1000 typically retails between $70 and $110 depending on the variant and any promotional pricing. At that price point, combined with those running costs and the Samsung LM301D diode quality, the value proposition is strong for a beginner or hobby grower who does not want to spend $200-plus on a light for a single small plant. The math breaks down if you try to use it for a 3x3 or 4x4 grow, you would need multiple units, at which point a single higher-wattage board becomes more efficient and simpler to manage.
How the VS1000 stacks up against the competition
The 100W quantum board category is genuinely competitive, and the VS1000 is not the only capable option. Here is how it compares to the lights most frequently considered alongside it:
| Light | True Wattage | Diode Type | Efficacy | Coverage (Flower) | Dimmer | Approx. Price |
|---|---|---|---|---|---|---|
| VIVOSUN VS1000 | 100W | Samsung LM301D | ~2.5 µmol/J | 2x2 ft | On VS1000E only | $70–$110 |
| Spider Farmer SF1000 | 100W | Samsung LM301B | ~2.7 µmol/J | 2x2 ft | Yes | $100–$130 |
| VIVOSUN VS2000 | 200W | Samsung LM301D | ~2.5 µmol/J | 3x3 ft | Yes | $150–$190 |
| Spider Farmer SF2000 | 200W | Samsung LM301B | ~2.8 µmol/J | 3x3 ft | Yes | $200–$240 |
The Spider Farmer SF1000 edges out the VS1000 slightly on raw efficacy and ships with a dimmer as standard, which is a meaningful convenience advantage. If you are deciding between models, the Spider Farmer SF1000 LED grow light review is also worth checking for its efficacy and value. If you are weighing it against the Spider Farmer SF1000, that comparison comes down to efficacy, dimming, and how much you care about UV supplementation. If you can stretch $20-30 more in budget, the SF1000 is worth the premium. That said, the VS1000 (and especially the VS1000E with dimmer) is not far behind and often sells at a discount that closes the gap completely.
If your space or ambitions have grown beyond a single 2x2 plant, the VS2000 is the more logical choice within the VIVOSUN lineup, it covers a 3x3 ft flower footprint and includes dimming as standard. If you are comparing it against bigger boards, check the vs4000 led grow light review for how a higher-watt setup performs in larger tents. Comparing the VS1000 to the VS4000 or similar 400W+ lights is not really apples-to-apples; those are for larger tents and commercial hobby setups where the VS1000 simply does not compete in raw output.
Against no-name budget blurple lights in the same $70-100 range, the VS1000 wins decisively. Full-spectrum Samsung diodes at 2.5 µmol/J simply outperform the old red/blue LED arrays in plant response, heat behavior, and electricity efficiency. If you are choosing between a blurple board and the VS1000 at a similar price, take the VS1000.
The honest verdict: buy it or skip it
The VS1000 is a genuinely good light for a specific, well-defined use case. It performs well, runs cool and silent, draws honest wattage, and uses quality diodes. It is not trying to be a 200W light in a 100W package, and that honesty makes it reliable.
Buy it if:
- You are growing one or two plants in a 2x2 ft space or small closet
- You want a dedicated seedling and clone propagation light that can also carry a plant through veg
- You are a first-time indoor grower who wants a low-risk, low-cost entry point with quality diodes
- You need a silent light (no fan noise) for a bedroom or apartment grow
- Your electricity costs are a priority and you want to minimize monthly running costs
Skip it if:
- You are trying to flower multiple plants in a 3x3 or larger tent — look at the VS2000 or a comparable 200W board instead
- Dimming is important to you and you are buying the base VS1000 (no dimmer) rather than the VS1000E
- You want UV supplementation for terpene/resin development in the final weeks of flower
- You are scaling up a serious crop where output per dollar matters at the watt-per-square-foot level
Your next step is simple: measure your actual grow space before ordering. If it is a true 2x2 or smaller, the VS1000 is a solid, low-regret purchase. If your tent is 3x3, spend a bit more and get the VS2000 or the Spider Farmer SF2000 so you are not fighting the light's coverage limits through your entire flower cycle. And if you are somewhere in between, the VS1000E with dimmer gives you the flexibility to start seeds at 50% power and ramp up as plants mature, making it the smarter pick within the VS1000 family.
FAQ
Is the VS1000 worth it for a 2x2 tent if I’m growing more than one plant at a time?
It can work, but you need spacing and training that keeps most of the canopy within the panel’s strong center area. If you spread plants across the full footprint, the corners will likely sit at lower PPFD (you may see slower lower bud development), so consider fewer plants, a tighter layout, or more aggressive canopy flattening (LST, scrog).
What happens if my VS1000 hanging height is higher than recommended?
Coverage drops quickly with distance because edge PPFD falls off. If you raise it to gain space, you can end up with an underfed canopy in flower, not just slower growth. For best results, start near the suggested height, then adjust in small increments based on leaf posture and how evenly the canopy brightens.
Does the VS1000 need a veg and bloom switch since it runs full spectrum all the time?
No, because the standard VS1000 is full spectrum continuously. The practical adjustment is intensity (via hanging height and, on the VS1000E, the dimmer if present). Many growers also change feeding and canopy management between veg and flower, which matters more than swapping spectra on this model.
Can I use the VS1000 for auto-flower plants, and should I run full power immediately?
Yes, autos generally do fine under this type of full-spectrum board. If you start seeds at full intensity, keep a close eye on leaf color and stress, because some varieties are sensitive early. A common approach is starting at reduced intensity (raise the light or use dimming on the VS1000E) for the first 1 to 2 weeks, then ramp up as the plants thicken.
How do I tell whether I’m under-lighting or over-lighting with this 100W board?
Under-lighting often shows up as stretch, slower top growth, and weaker lower-site development despite adequate nutrients. Over-lighting tends to present as canoeing or clawing leaves, overly dark green foliage, or early signs of leaf-tip stress. Adjust one variable at a time, typically height first, then intensity (VS1000E dimmer).
Is the lack of a UV channel a deal-breaker for resin and terpene production?
Not automatically. UV can increase certain final-week responses, but plenty of growers still get strong flavor and yield without dedicated UV by optimizing the last weeks of flowering (light intensity, temperature, and proper nutrient timing). If resin production is your top priority, UV supplementation becomes more important, but it is rarely the only factor.
Do I need to buy multiple VS1000 lights for a 4x4 tent?
Usually, yes. A 100W board is fundamentally a small-footprint tool, and a 4x4 requires many units to keep the canopy evenly lit. The article’s premise applies here: using several VS1000 units can work, but it becomes more complex than using a higher-watt board designed for larger coverage, and cable management and dimming consistency become bigger issues.
Is 100-277V input truly plug-and-play, and what should I check for my region?
The wide input range means the driver is compatible with many mains voltages, but you should still confirm that the specific unit you receive matches the certification for your market and has the right power cord and plug type. Also check that the outlet rating and grounding meet local electrical standards.
How loud is the VS1000 during operation, and does “fanless” change cooling needs?
It is silent because it uses a passive heatsink design with no internal fan. Fanless does not mean it needs no airflow, it means you rely on your tent exhaust and internal circulation to prevent heat buildup around the board. If your tent runs hot, improve exhaust and aim at maintaining stable temperature where the light mounts.
What’s the risk with counterfeits, and how can I reduce the chance of getting one?
In this price class, counterfeit boards may use different diode components, weaker drivers, or poorer safety components. Reduce risk by buying from reputable sellers, checking that the expected certification marking is present on the unit you receive, and verifying model details like the presence or absence of dimming for the variant you ordered.
Will the external driver affect setup or reliability compared to built-in drivers?
In general, separating the driver can help keep driver heat away from the diodes, which can support lifespan. Practically, it means you should mount and route the driver safely (avoid pinching cables, keep it ventilated, and prevent contact with wet surfaces). If your tent is humid, use cable management and keep connections protected.