The Master Garden grow light line, sold primarily through Menards, is a budget-friendly option aimed at casual indoor gardeners who want something better than a bare shop light but don't want to spend serious money. If you're wondering whether it's actually worth buying for seed starting, herbs, or small vegetable crops, here's the honest answer: it can work for low-to-medium light plants and seed starting in a pinch, but it has real coverage and output limitations you need to know before committing.
Master Garden Grow Light Review: Coverage, Spectrum, Value

Marcus Caldwell
6 Apr 2026

Quick verdict: who the Master Garden grow light is actually for
The Master Garden line is a good fit if you're a beginner gardener starting seeds indoors, growing herbs on a shelf, or supplementing natural light for houseplants, and you're buying from Menards anyway. It's not a fit if you're trying to run a serious vegetative or flowering grow tent, expecting high PPFD output, or growing high-demand crops like tomatoes or peppers through their full cycle without any supplemental light. Think of it as a reliable, no-fuss step above a basic shop light, not a replacement for a purpose-built horticultural LED.
What the specs actually mean for growing
The two main models
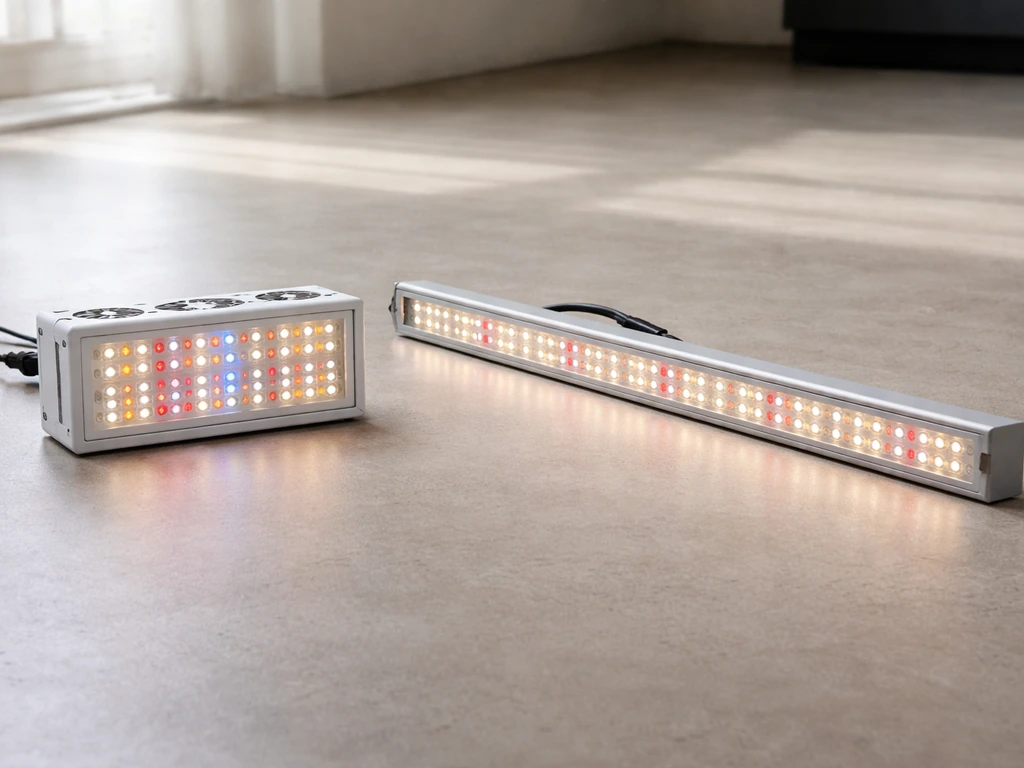
There are two Master Garden fixtures you'll most commonly run into at Menards. The first is the 42-inch LED Grow Shop Light (model AL-RBFST-4FT), a bar-style fixture designed to sit above a shelf or seed tray. The second is the 40W Equivalent 13-inch LED Grow Light (SKU GT-GR-P40), a compact panel marketed by GT Lite as a full-spectrum option. The 42-inch bar is the one most people are asking about, and it's the one you'll see showing up in microgreens and seed-starting setups on gardening forums.
Spectrum
Both fixtures are marketed as full-spectrum, which in the grow light world usually means a white LED output that covers the visible spectrum from roughly 400nm to 700nm, with some added red or pink emphasis. The 40W equivalent model specifically promotes a spectrum blend that "promotes plant growth," which is marketing language for a mix weighted toward red and blue wavelengths without a lot of far-red extension. For seedlings and leafy greens, this is adequate. For flowering plants that respond to far-red and deep red cues, it leaves something to be desired. Don't expect the spectrum depth of a purpose-built quantum board here.
Wattage and efficiency
The 13-inch panel is labeled 40W equivalent, but equivalent claims in grow lights are historically inflated relative to actual draw and output. Actual wall draw is almost certainly lower than 40 true watts. The 42-inch bar fixture falls in a similar zone for its class. Neither fixture publishes a verified PPF or PPFD figure, which is a real gap for anyone trying to dial in their grow. A GT-Lite specification sheet for the 40W-equivalent full-spectrum grow bulb variant provides technical details including PPF output values, which you can use as context when discussing “40W-equivalent” versus measured light output Neither fixture publishes a verified PPF or PPFD figure. You're essentially working without a map unless you bring in a light meter or a phone app like Photone, which several growers using the 42-inch model have done to calibrate mounting height.
Dimming and driver
Neither model advertises a built-in dimmer or programmable driver. You get on/off functionality, which means your main control levers are mounting height and photoperiod. This is simple and reliable, but it also means you can't fine-tune intensity for different growth stages without physically moving the light. For a beginner, that's actually less overwhelming. For someone managing multiple plant types at different stages, it's a limitation.
Coverage area
The 42-inch bar is realistically suited for a single standard 1020 seed tray (roughly 10 inches by 20 inches) at close range, or a shallow shelf up to about 2 feet wide when hung at a modest height. Don't expect it to fill a 2x4 tent with usable light. The 13-inch panel covers even less ground, making it best for a small pot cluster, a windowsill supplement, or a single tray of microgreens.
Real-world output: brightness at plant height
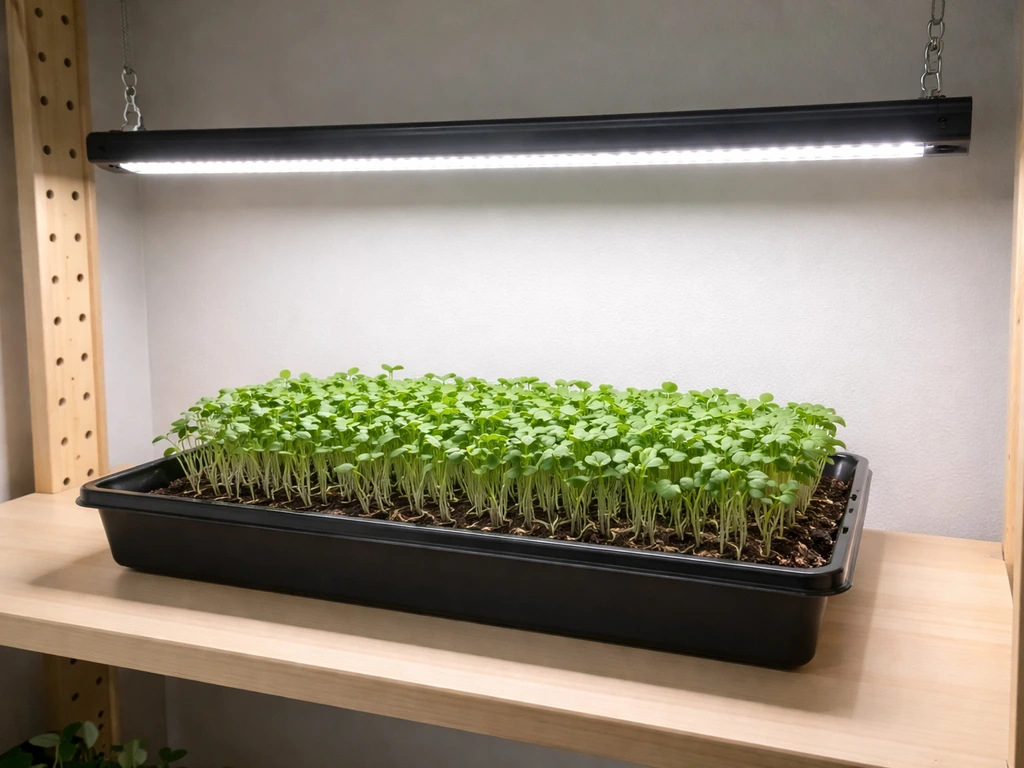
Without published PPFD data, you have to rely on community feedback and basic physics. Growers using the 42-inch Master Garden bar for microgreens and broccoli seedlings report acceptable germination and early growth when the light is hung at 4 to 6 inches above the canopy. One grower specifically used the Photone app to verify they were hitting adequate light levels at that range, suggesting the light does produce workable intensity at very close distances. As you push past 10 to 12 inches of hanging height, you're likely dropping into marginal territory for anything beyond low-light herbs or houseplants. For seed starting where the light sits just above the humidity dome, this works. For larger plants in pots where the canopy is farther away, output gets thin quickly.
A rough way to think about coverage: for seed starting, budget roughly one 42-inch bar per standard tray, positioned within 4 to 6 inches. For herbs on a shelf, one bar can reasonably cover a 12x36 inch shelf zone at 6 to 8 inches. Don't try to stretch it to cover a 2x2 footprint at 18 inches, you won't have enough intensity to drive meaningful vegetative growth in most fruiting or flowering crops.
Setup, mounting, and how to not mess it up
Setup is genuinely simple. The 42-inch bar hangs or rests on a shelf, plugs into a standard outlet, and turns on. No drivers to wire, no spectrum knobs to set. Here's how to get the most out of it without making the common mistakes.
- Start with the light 4 to 6 inches above your seedling trays or microgreens. This is where output is most usable. Use Photone or a basic lux meter if you want to confirm you're in a reasonable range.
- Run a photoperiod of 14 to 16 hours for seedlings and leafy greens. 18 hours is fine for aggressive seed starting. Drop to 12 hours if you're trying to trigger flowering in photoperiod-sensitive plants.
- Don't hang it 18 inches away and expect tomato transplants to thrive. The light isn't strong enough at that distance for high-demand crops. Keep it close or pair it with a second fixture.
- If you're growing on a rack, use a plug-in timer so you're not relying on memory for consistent photoperiods. Inconsistent lighting is one of the fastest ways to get leggy, weak seedlings.
- The 13-inch GT-GR-P40 panel is rated damp-rated, so it's fine in a humid seed-starting environment, but don't run it in standing water or a fully soaked space.
One common mistake people make with budget grow lights at Menards is confusing "grow light" branding with professional grow-room performance. These fixtures are built for supplemental and seed-starting roles. If you go in with calibrated expectations, you'll get solid results. If you expect them to replace a 240W quantum board in a 4x4 tent, you'll be disappointed.
How well it handles each plant stage
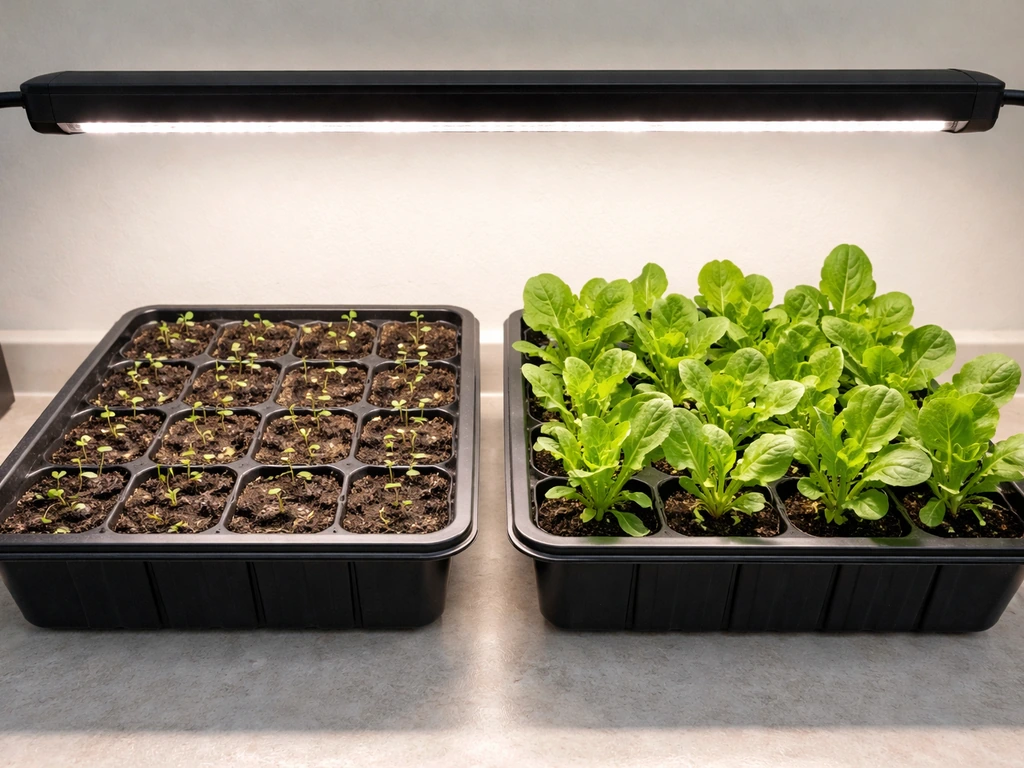
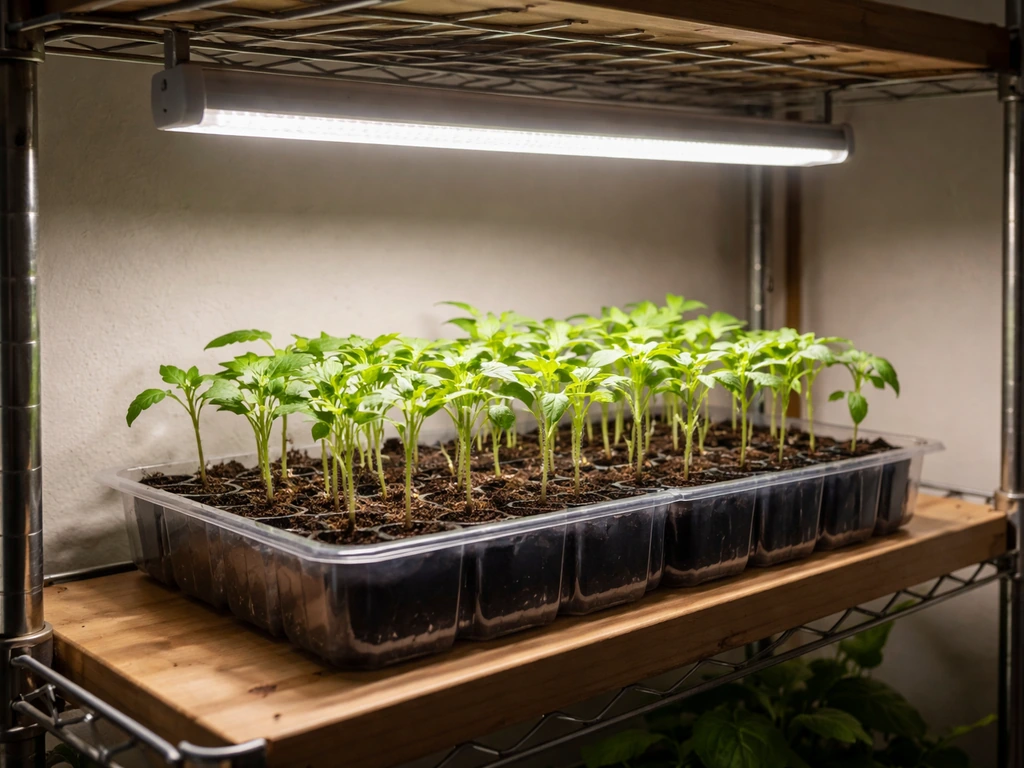
Seedlings and germination are where the Master Garden lights perform best. At close mounting distances, they provide enough intensity to keep seeds from going leggy right after germination, and the spectrum is sufficient to initiate good root and shoot development. This is the sweet spot for both the 42-inch bar and the 13-inch panel.
Vegetative growth for low-light crops like lettuce, spinach, herbs, and similar greens is workable. These plants don't need high PPFD, and the Master Garden fixtures can sustain them through a full growth cycle on a shelf or indoor rack setup. If you're growing herbs and compact greens with a purpose-built grow light, you'll want to benchmark against what those fixtures produce, but for casual herb shelves the Master Garden gets the job done.
Vegetative growth for high-demand crops like tomatoes, peppers, or cucumbers is where it starts to struggle. These plants want significantly more light than the Master Garden can deliver at practical mounting heights. You can nurse seedlings through early stages, but by the time they need serious vegetative mass, you'll be looking at leggy, weak growth unless you stack multiple bars very close together.
Flowering and fruiting is generally out of scope for this fixture. Without enough intensity to drive photosynthesis at the canopy and without a spectrum optimized for far-red flowering cues, you won't get the results you need from fruiting crops. It's not that the light is defective, it's simply not designed for that role.
Build quality, heat, noise, and warranty
The Master Garden fixtures are built to a budget price point, and the construction reflects that. They're functional and safe for their intended use, the 13-inch panel carries a damp rating, which is appropriate for humid seed-starting environments. But you're not getting the heavy-duty aluminum housing or premium driver components you'd find in a dedicated horticultural fixture.
Heat output is low, which is typical for LED bar and compact panel designs in this power class. You're not going to burn seedlings with radiant heat if you keep the light at the recommended distance, and you won't need any special ventilation to manage thermal output. Noise is essentially zero, these are passive cooling designs with no fans.
Reliability for casual home use should be adequate. LED fixtures at this level typically run for several seasons without issue in low-duty-cycle applications like seed starting. The main longevity risk is using them continuously in a demanding setup they weren't designed for. Menards warranty coverage for these products follows standard retail return policies rather than a manufacturer's multi-year horticulture warranty, so factor that in if long-term reliability is a concern. For a light you're using 16 hours a day, 6 months a year for seed starting, it should hold up reasonably well.
How it compares to other options
To put the Master Garden in context, here's how it stacks up against the types of alternatives you'd realistically consider in the same or adjacent price brackets.
| Light Type/Brand | Wattage Range | Spectrum | Dimming | Best For | Coverage |
|---|---|---|---|---|---|
| Master Garden 42" Bar (AL-RBFST-4FT) | ~20-30W actual | Full-spectrum blend | No | Seed starting, herbs, microgreens | 1 standard tray / small shelf |
| Master Garden 13" Panel (GT-GR-P40) | ~15-20W actual | Full-spectrum blend | No | Single pot cluster, windowsill supplement | Very small area |
| Budget blurple panel (generic Amazon) | ~30-45W actual | Red/blue only | Sometimes | Seed starting, herbs | Small shelf, similar to bar |
| Mid-range white LED panel (e.g., HLG-style) | 45-100W actual | Broad full-spectrum + far-red | Often yes | Veg through flowering | 2x2 to 3x3 ft tent |
| Dedicated shop light T5/T8 fluorescent | ~40-80W actual | Cool white / grow spectrum | No | Seed starting, greens | 1-2 standard trays |
Compared to a bare shop light, the Master Garden fixtures have a spectrum advantage for plant growth. Compared to a purpose-built quantum board or LED bar from a dedicated horticultural brand, they fall short in output, efficiency, and spectrum depth. The honest middle-ground comparison is against fixtures like those covered in a hands-on luminar everyday grow light review, which targets a similar casual-gardener audience at a comparable price point.
If you're comparing against full-feature compact fixtures in the same big-box retail channel, you may also want to look at what the Sharper Image grow light garden lineup offers, since it targets a similar buyer profile. For anyone considering stepping up to a more capable bar-style fixture with better optical engineering, globe grow lights are worth looking at in that adjacent price tier.
The recommendation
If you're a beginner starting seeds or growing herbs indoors and you're already at Menards, the Master Garden 42-inch bar is a reasonable, low-risk buy. It will do the job at close range for low-to-medium light plants and costs less than a dedicated horticultural fixture. If you need something that will carry plants through full vegetative and flowering cycles, or if you need verified PPFD output data to manage a serious grow, spend more on a purpose-built option. The Master Garden is a gateway fixture, not a grow room workhorse.
Who should buy it and who should skip it
- Buy it if: you're starting seeds on a rack or shelf and want something better than a plain fluorescent shop light without spending more than $30 to $50
- Buy it if: you're growing herbs, lettuce, spinach, or microgreens indoors and keeping the light within 6 to 8 inches of the canopy
- Buy it if: you want a simple, no-driver, no-app-required setup for a seasonal seed-starting routine
- Skip it if: you're planning to grow tomatoes, peppers, or other fruiting crops through a full cycle indoors
- Skip it if: you need a light that can cover more than about one standard tray or a 12x36 inch shelf at adequate intensity
- Skip it if: you want published PPFD data, a multi-year warranty, or adjustable dimming for multiple growth stages
- Skip it if: you're already thinking about a grow tent setup — the money is better spent on a purpose-built fixture from a horticultural brand
If you find that the specific model you're looking at differs from the AL-RBFST-4FT or GT-GR-P40, check whether it has a published actual wattage draw (not "equivalent" watts), a spectrum chart, and any PPFD data at a stated distance. Those three things will tell you more about what you're getting than any marketing copy on the box.
FAQ
How can I tune mounting height and photoperiod if the Master Garden lights do not list PPFD?
If your goal is to prevent leggy seedlings, keep the light close (about 4 to 6 inches over the canopy early on) and then raise it gradually as the plants grow. Since these fixtures lack published PPFD, the practical approach is to watch stem thickness and leaf posture, adjust height weekly, and only extend the distance when plants can maintain a compact look.
What’s the best way to verify the real power output of the 40W equivalent model?
Use a watt meter, or check for a label showing actual input power. The 13-inch “40W equivalent” claim is likely higher than the real wall draw, and without that verified draw plus PPFD data, you should not budget on the marketing number when comparing to other grow lights.
What photoperiod should I use for seed starting with a non-dimmable grow light?
For most casual seed-starting setups, aim for around 14 to 16 hours per day during germination and early growth, then reduce slightly once seedlings are established if natural light is available. Because these lights only offer on and off, consistent daily timing matters more than micro-adjusting intensity.
Can I use a timer safely with the Master Garden grow lights?
You can run them with a timer, but avoid frequent power cycling from a switch strip or unreliable plug adapter. These are basic fixtures without programmable drivers, so stable power and consistent on hours are the closest thing to “controls” you get.
Is it possible to scale up the Master Garden light for bigger plant areas?
Yes, but expect better results by placing the shelf tray directly under the bar and keeping airflow and temperature stable, rather than trying to light a large area. Stacking multiple bars close together can help for bigger canopies, but it raises cost and you still may not reach the intensity targets of horticultural fixtures.
Will the Master Garden light work for tomatoes or peppers through the entire grow?
If you’re growing tomatoes, peppers, or cucumbers, the Master Garden can usually cover the early seedling phase, then becomes a bottleneck when those crops demand more light. Plan either to move seedlings to a stronger light for the vegetative push, or expect weaker growth and slower progress unless you supplement with additional fixtures.
How can I tell if the spectrum is sufficient without PPFD measurements?
Switch from using “it’s full spectrum” as your decision factor to verifying results you can see: compactness, leaf color, and internode spacing. If plants stretch after a week, raise the mounting emphasis (lower the light), shorten day length only if heat is an issue, and consider a light upgrade once flowering is expected.
Is using a phone app like Photone actually useful for setting up these lights?
Measure for yourself if you can. A phone app can help, but it depends heavily on phone sensor accuracy and the exact app workflow. If you do use a light meter or app, test at your actual mounting height and spacing plan (tray center is the most important area), then document those readings so you can repeat settings later.
Why does the light work for seedlings but struggle with larger potted plants?
The key edge case is canopy distance. Seeds and small seedlings are forgiving because the “canopy” is close to the LEDs, but larger pots quickly put foliage farther away, causing intensity drop and slower growth. If you use it for herbs on a shelf, keep pot heights similar so the leaves sit at a consistent distance.
What common mistakes lead to stressed or pale seedlings with budget LED bars?
Because the fixtures do not provide intensity control, it’s easy to overuse them and stress seedlings with heat or low-quality environmental conditions. Keep them close enough for compact growth, but ensure there is airflow, avoid placing the light against materials that trap heat, and re-check distance if leaves start to curl or bleach.