Quick take: is the Vander grow light worth buying?
The short answer is: it depends heavily on what you're growing and how realistic your expectations are. Vander and Vander Life LED grow lights are budget-tier panels aimed at very small indoor grows, seedling trays, and hobbyist herb setups. If you walk in knowing that a "1000W" Vander is actually drawing around 110W of real power (and independent testers have reported actual output closer to 216 µmol/m²/s rather than the numbers on the box), you can make an informed call. If you're expecting commercial-level PPFD across a 4×4 canopy, you'll be disappointed. For a single small plant, a propagation tray, or a tight closet grow on a shoestring budget, Vander lights are functional and affordable. For anything more demanding, there are better options.
Vander vs Vander Life: sorting out the model lineup
One of the first confusing things about shopping for a Vander grow light is that you'll see two closely related brand names: "Vander" and "Vander Life." They sell nearly identical panels under both labels, and the model numbers overlap. The unit that shows up most often in buyer discussions is the Vander Life GROW LED S4 1916V, also listed as the "VANDER Led grow light 1916V" in community forums. Both names point to the same physical product family, so don't let the branding split confuse you when comparing listings.
The flagship listing is the Vander Life "1000W" LED grow light, and that quoted wattage needs a caveat immediately. The actual wall draw is 110W. The "1000W" figure refers to the theoretical maximum output of the LED chips if they were all driven at full power, which they aren't in real-world use. This is a common practice across budget grow light brands, and it makes direct comparisons tricky. If you're researching similar panels, this Vogek grow light review covers another brand that uses the same wattage-labeling convention, so it's worth reading alongside this one to calibrate your expectations.
Vander also sells a panel positioned higher in their lineup under the "2000W" label. If you've been searching specifically for that model, the Vander 2000W LED grow light review covers that unit in detail. This article focuses primarily on the 1000W/1916V family, since that's what most buyers encounter first.
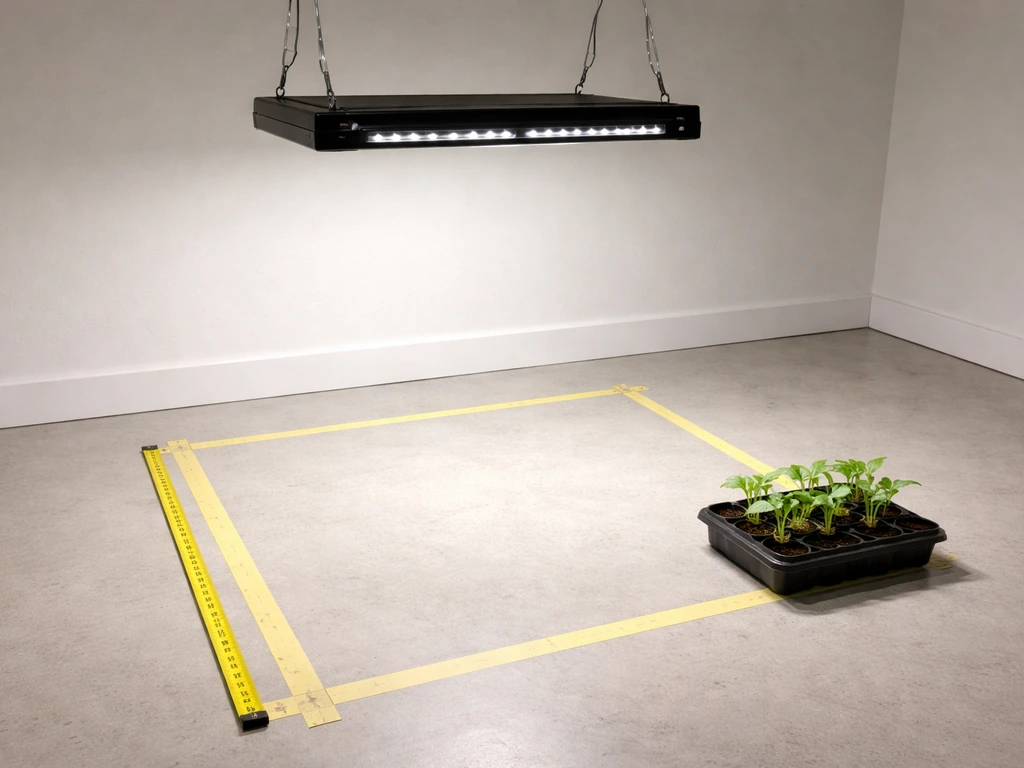
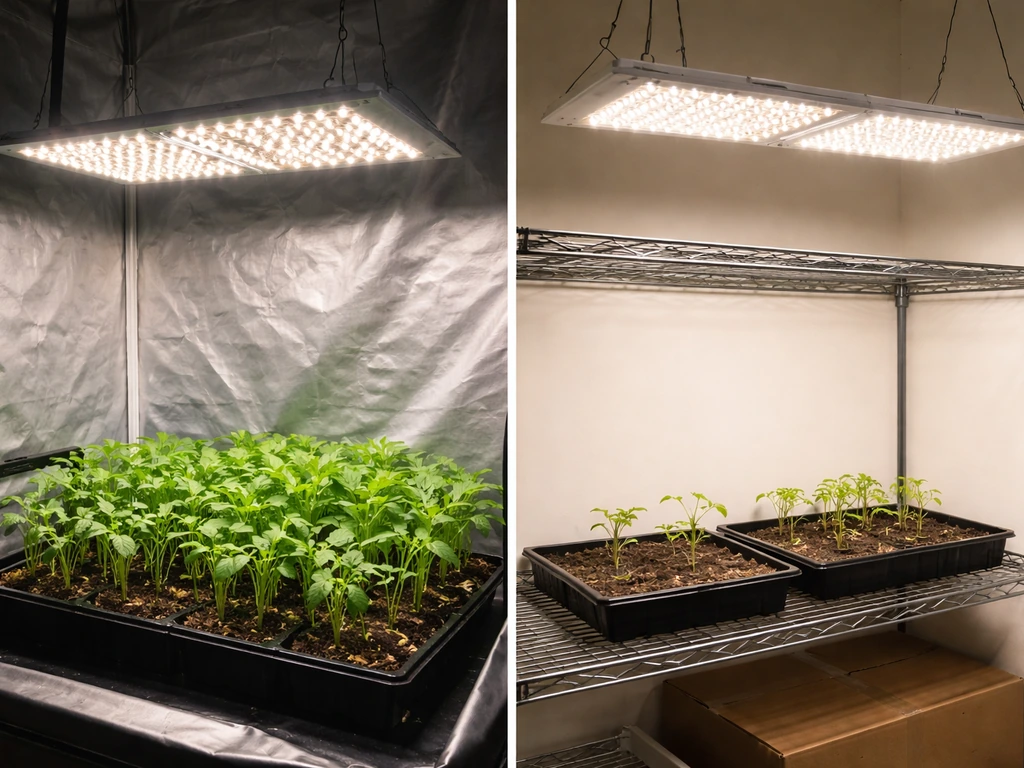
The official PPFD numbers from Vander Life's product page show around 320 µmol/m²/s in vegetative mode at an 11-inch mounting height, covering roughly 1.9 × 1.7 feet. In flowering mode at 8 inches, they claim around 500 µmol/m²/s over a tighter 1.1 × 0.9 foot footprint. Those are manufacturer numbers, so take them with some skepticism, and real-world reports back up that skepticism: one test frequently cited in grower forums found the 1000W Vander producing around 216 units of output (the exact measurement wasn't specified in the source, but context suggests µmol/m²/s at canopy level), which is notably below the manufacturer's vegetative claim.
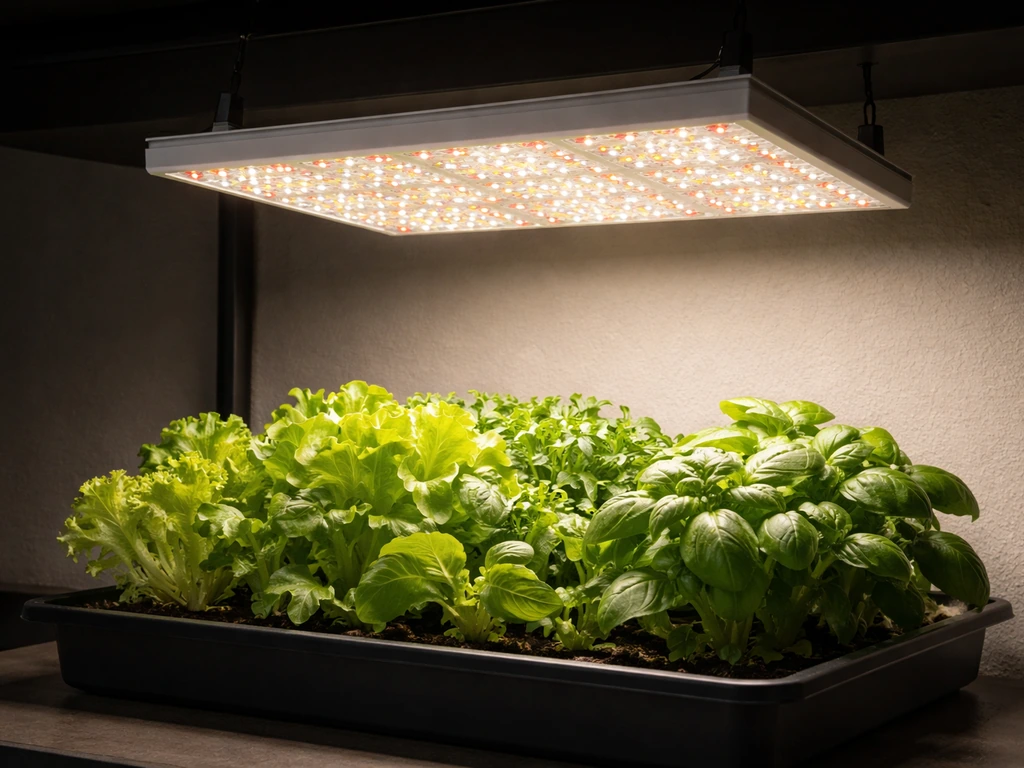
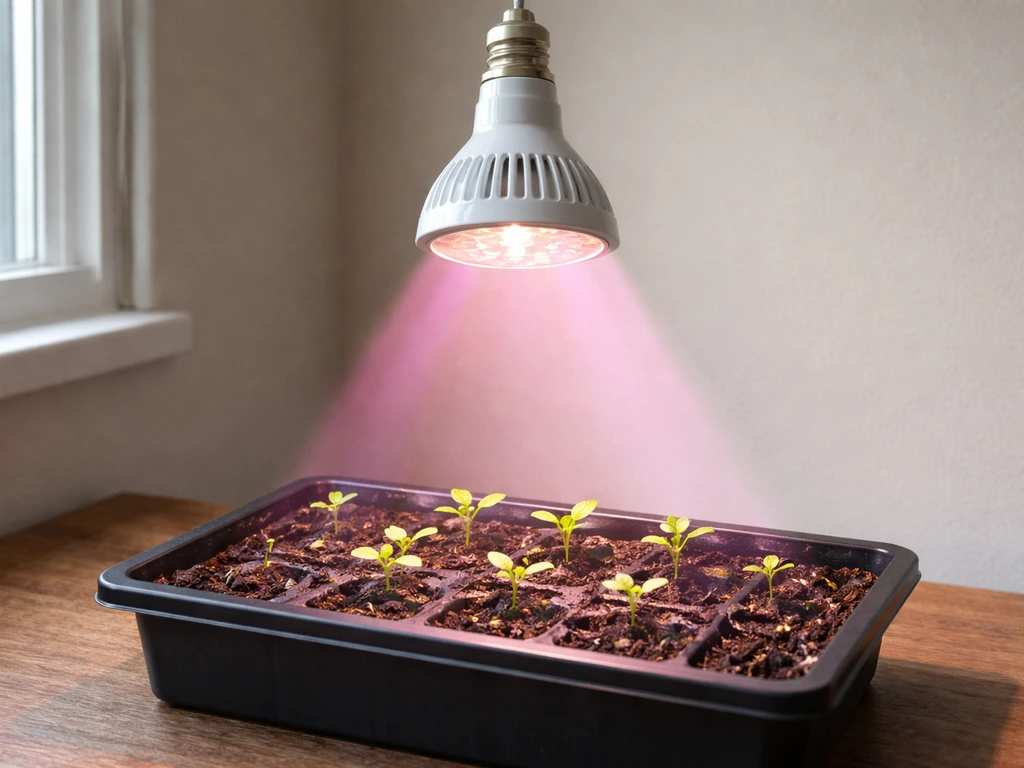
In practical terms, that means this light is genuinely useful for seedlings and early vegetative growth where PPFD requirements are lower, typically in the 100 to 300 µmol/m²/s range. Pushing it into heavy flower production over more than a square foot or so is asking more than the physics of a 110W panel can reliably deliver. For lettuce, herbs, small propagation setups, or keeping a mother plant alive, the output is adequate. For fruiting crops like tomatoes or cannabis in full flower, you'll want more.
Build and design: heat, durability, controls, and installation
Vander Life uses active fan cooling on the 1916V panel, which means there's a built-in fan rather than a passive heatsink. The product data lists the LED chip soldering pad temperature at 68°C when ambient room temperature is 28°C, and the operating temperature range is rated from -20°C to 40°C. That soldering pad temperature is on the warmer end for budget LEDs but not alarming if the fan is running consistently. The fan uses a double-ball bearing design, which generally holds up better over time than sleeve-bearing fans, though long-term reliability on budget units can still be a wildcard.
The panel is straightforward to hang. There are no complex wiring requirements: plug it in, hang it via the included steel wire hangers or rope ratchets (typically included), and you're running. There's no built-in dimmer on the base 1916V model, which is a limitation worth noting. If you want dimming capability for seedlings or light-sensitive stages, you'd need to look at a different panel or use a timer-based approach. The lack of a dimmer also means you can't dial back heat or power draw during early growth stages, which is a minor but real trade-off for a budget light.
Spectrum breakdown: what grows work at each stage
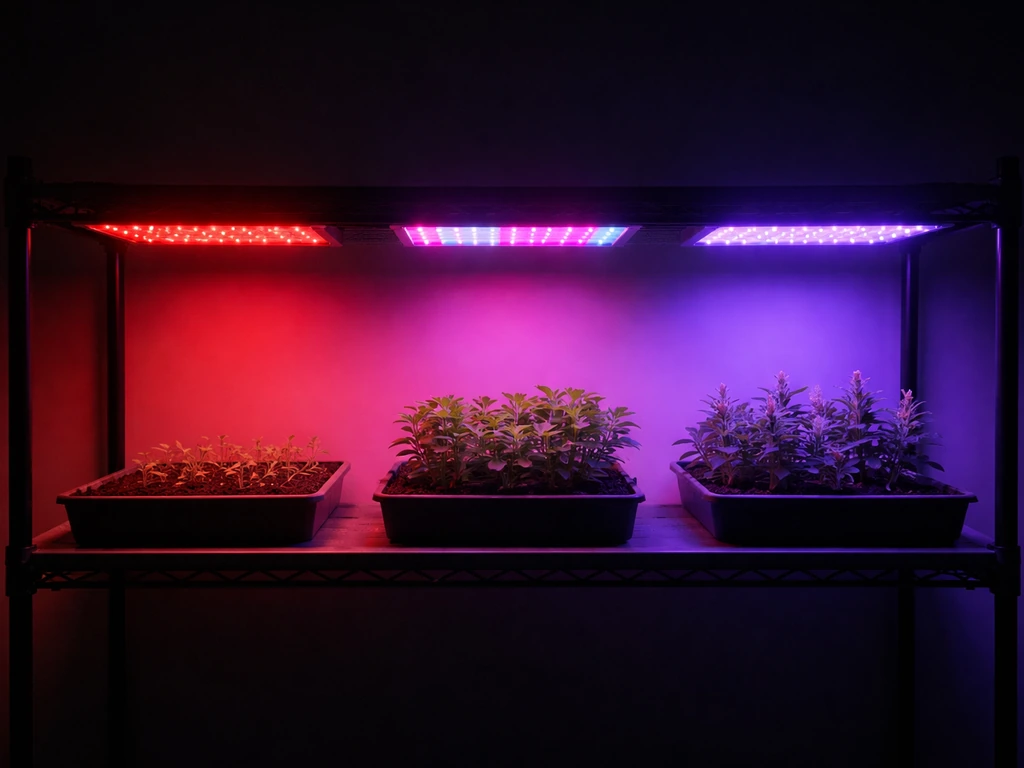
Vander Life describes the 1916V as a "full spectrum" light, which is technically true in the sense that it emits across a broad wavelength range, but the spectrum ratio is where the detail matters. The light blue-purple to orange-red ratio is listed as 1:6, meaning the output is heavily weighted toward the red and orange end of the spectrum. This bias makes it better suited for flowering and fruiting stages, where red-heavy light drives blooming response. It's less ideal for pure vegetative growth, where a more balanced or blue-forward spectrum encourages compact, leafy growth.
For seedlings, the red-heavy ratio isn't ideal either, since blue light drives early stem structure. That said, it won't kill seedlings; it just may produce slightly more stretch than a balanced or blue-weighted light would. The manufacturer explicitly lists "flowering and fruiting plants during growth and flower stage" as the primary use case, which is refreshingly honest about the light's best application. The recommended mounting height range of 5 to 12 inches above the canopy reflects the tight coverage footprint; hanging it higher than 12 inches drops usable PPFD substantially.
| Growth Stage | Suitability | Recommended Height | Notes |
|---|
| Seedlings | Moderate | 11–12 inches | Red-heavy spectrum may cause some stretch; adequate for germination |
| Vegetative | Moderate | 11 inches | Coverage ~1.9×1.7 ft; ~320 µmol/m²/s (claimed); real-world output likely lower |
| Flowering/Fruiting | Best fit | 8 inches | 1:6 blue-to-red ratio favors bloom; tight ~1.1×0.9 ft footprint |
| Mother Plants / Herbs | Good | 10–12 inches | Low light demand crops work well within the panel's actual output range |
Value and cost: what you're actually paying for
At 110W actual draw, running a Vander Life 1916V for 18 hours a day (a typical vegetative photoperiod) costs roughly 0.18 kWh per hour, or about 3.24 kWh per day. At a U.S. average electricity rate of around $0.16 per kWh as of early 2026, that's approximately $0.52 per day or around $15.50 per month. That's genuinely cheap to run, and it's one of the honest advantages of a lower-wattage panel: operating costs stay low even with long photoperiods.
The warranty is 2 years with a 30-day refund window. That's a reasonable policy for a budget light, and it's longer than some competitors at this price point. The catch, as with most budget brands, is that customer support quality can be inconsistent. If you compare this to a brand like Vevor, which has a more established support infrastructure, the gap shows. Our Vevor grow light review covers how that brand handles warranty claims in more detail, and it's a useful comparison if post-purchase support matters to you.
On a pure wattage-to-price basis, Vander lights are competitive within the budget tier. The problem is that "budget tier" in grow lights is a crowded space, and brands like Excelvan offer similar or better output in the same price range. If you're cross-shopping, the Excelvan grow light review is worth reading, and for a more targeted look at their higher-draw panel, the Excelvan 1200W LED grow light review gives a direct comparison point at a similar price bracket.
Who should buy a Vander light (and who should skip it)
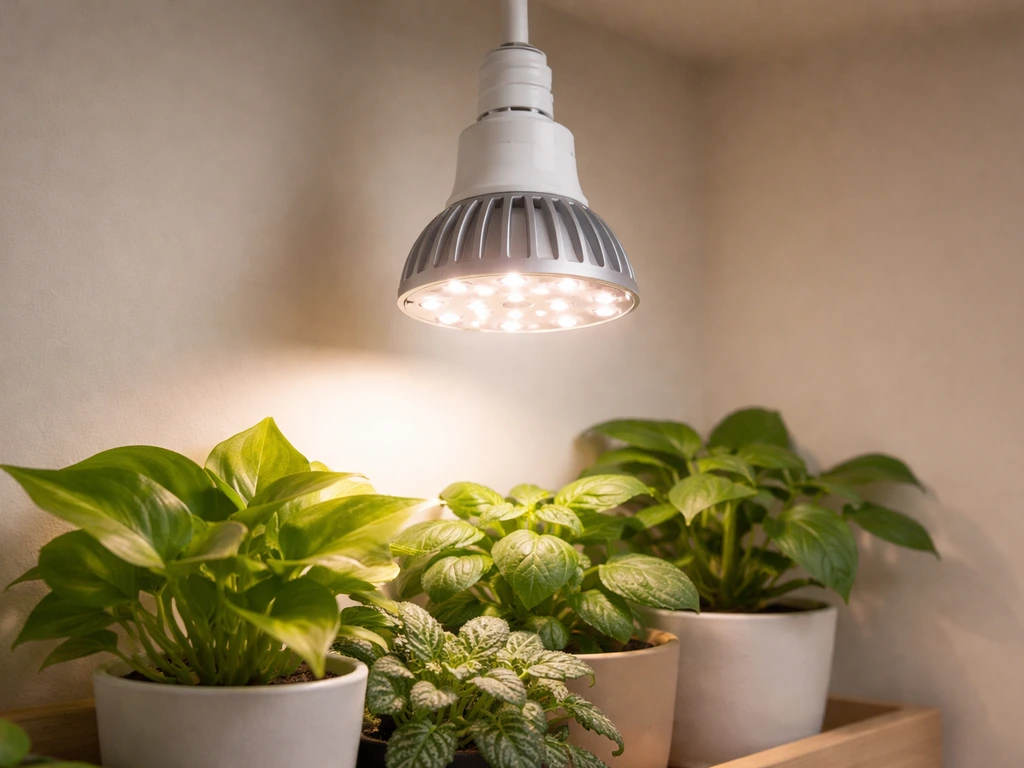
Vander lights make sense for a specific kind of grower: someone with a very small footprint (under 2 square feet), growing low-to-moderate light-demand plants like herbs, lettuce, or small flowering annuals, and who needs to keep both purchase price and running costs minimal. They also work well as supplemental lighting for a windowsill setup or as a dedicated propagation light for cuttings and seedlings.
Who should skip Vander: if you're growing cannabis, tomatoes, or other high-PPFD crops through a full flowering cycle, the 110W actual draw and the measured real-world output around 216 µmol/m²/s won't get you where you need to be. You'll want at minimum 400 to 600 µmol/m²/s sustained across your canopy for decent flowering results, which requires more wattage and better optical design than this panel delivers. In that case, stepping up to a mid-tier bar-style or quantum board light is worth the extra investment. Brands like Volt King sit closer to that mid-tier threshold, and the Volt King grow light review is a good next read if you're ready to move beyond entry-level options.
Recommended setups by grow scenario
- Herb garden or lettuce tray (under 2 sq ft): Vander Life 1916V at 11 inches, 16-hour photoperiod. Good fit.
- Seedling propagation (up to 12 cuttings or a small flat): hang at 11–12 inches, 18-hour photoperiod. Adequate, though a blue-forward light would be slightly better for compact growth.
- Single small flowering plant (under 1 sq ft canopy): lower to 8 inches during flower, 12-hour photoperiod. The 1:6 spectrum ratio helps here.
- 2×2 tent or larger: Vander Life at this wattage is undersized. Look at 200W+ actual-draw panels instead.
- Cannabis flower cycle (any size): skip Vander entirely and budget for a higher-output panel.
The bottom line is that Vander grow lights are not a scam, but they are a product with a very specific, narrow ideal use case. Buy one knowing it draws 110W, knowing real-world output runs below the marketing figures, and knowing the coverage footprint is smaller than a sheet of printer paper at flowering distances. Within those constraints, it's a cheap, low-running-cost light that does a workmanlike job for small hobby grows. Outside those constraints, your money is better spent elsewhere.